Overview
The Jar Manager in UnifyApps allows users to incorporate open-source and personal libraries directly into their automation workflows. This feature allows developers to expand the platform's default library capabilities by introducing external dependencies that can be seamlessly utilized within the DT custom integration node.
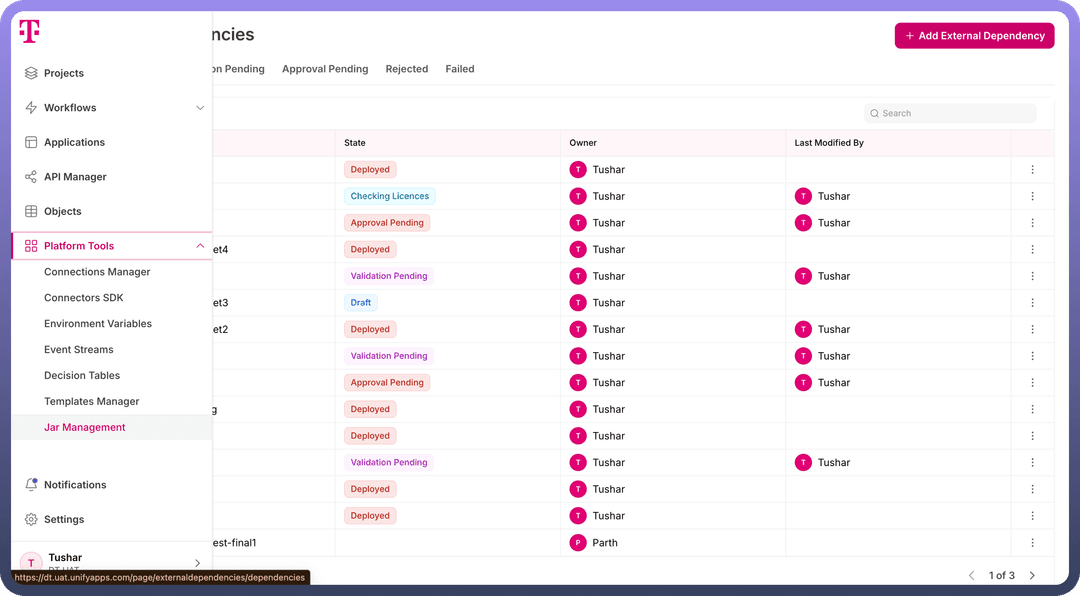
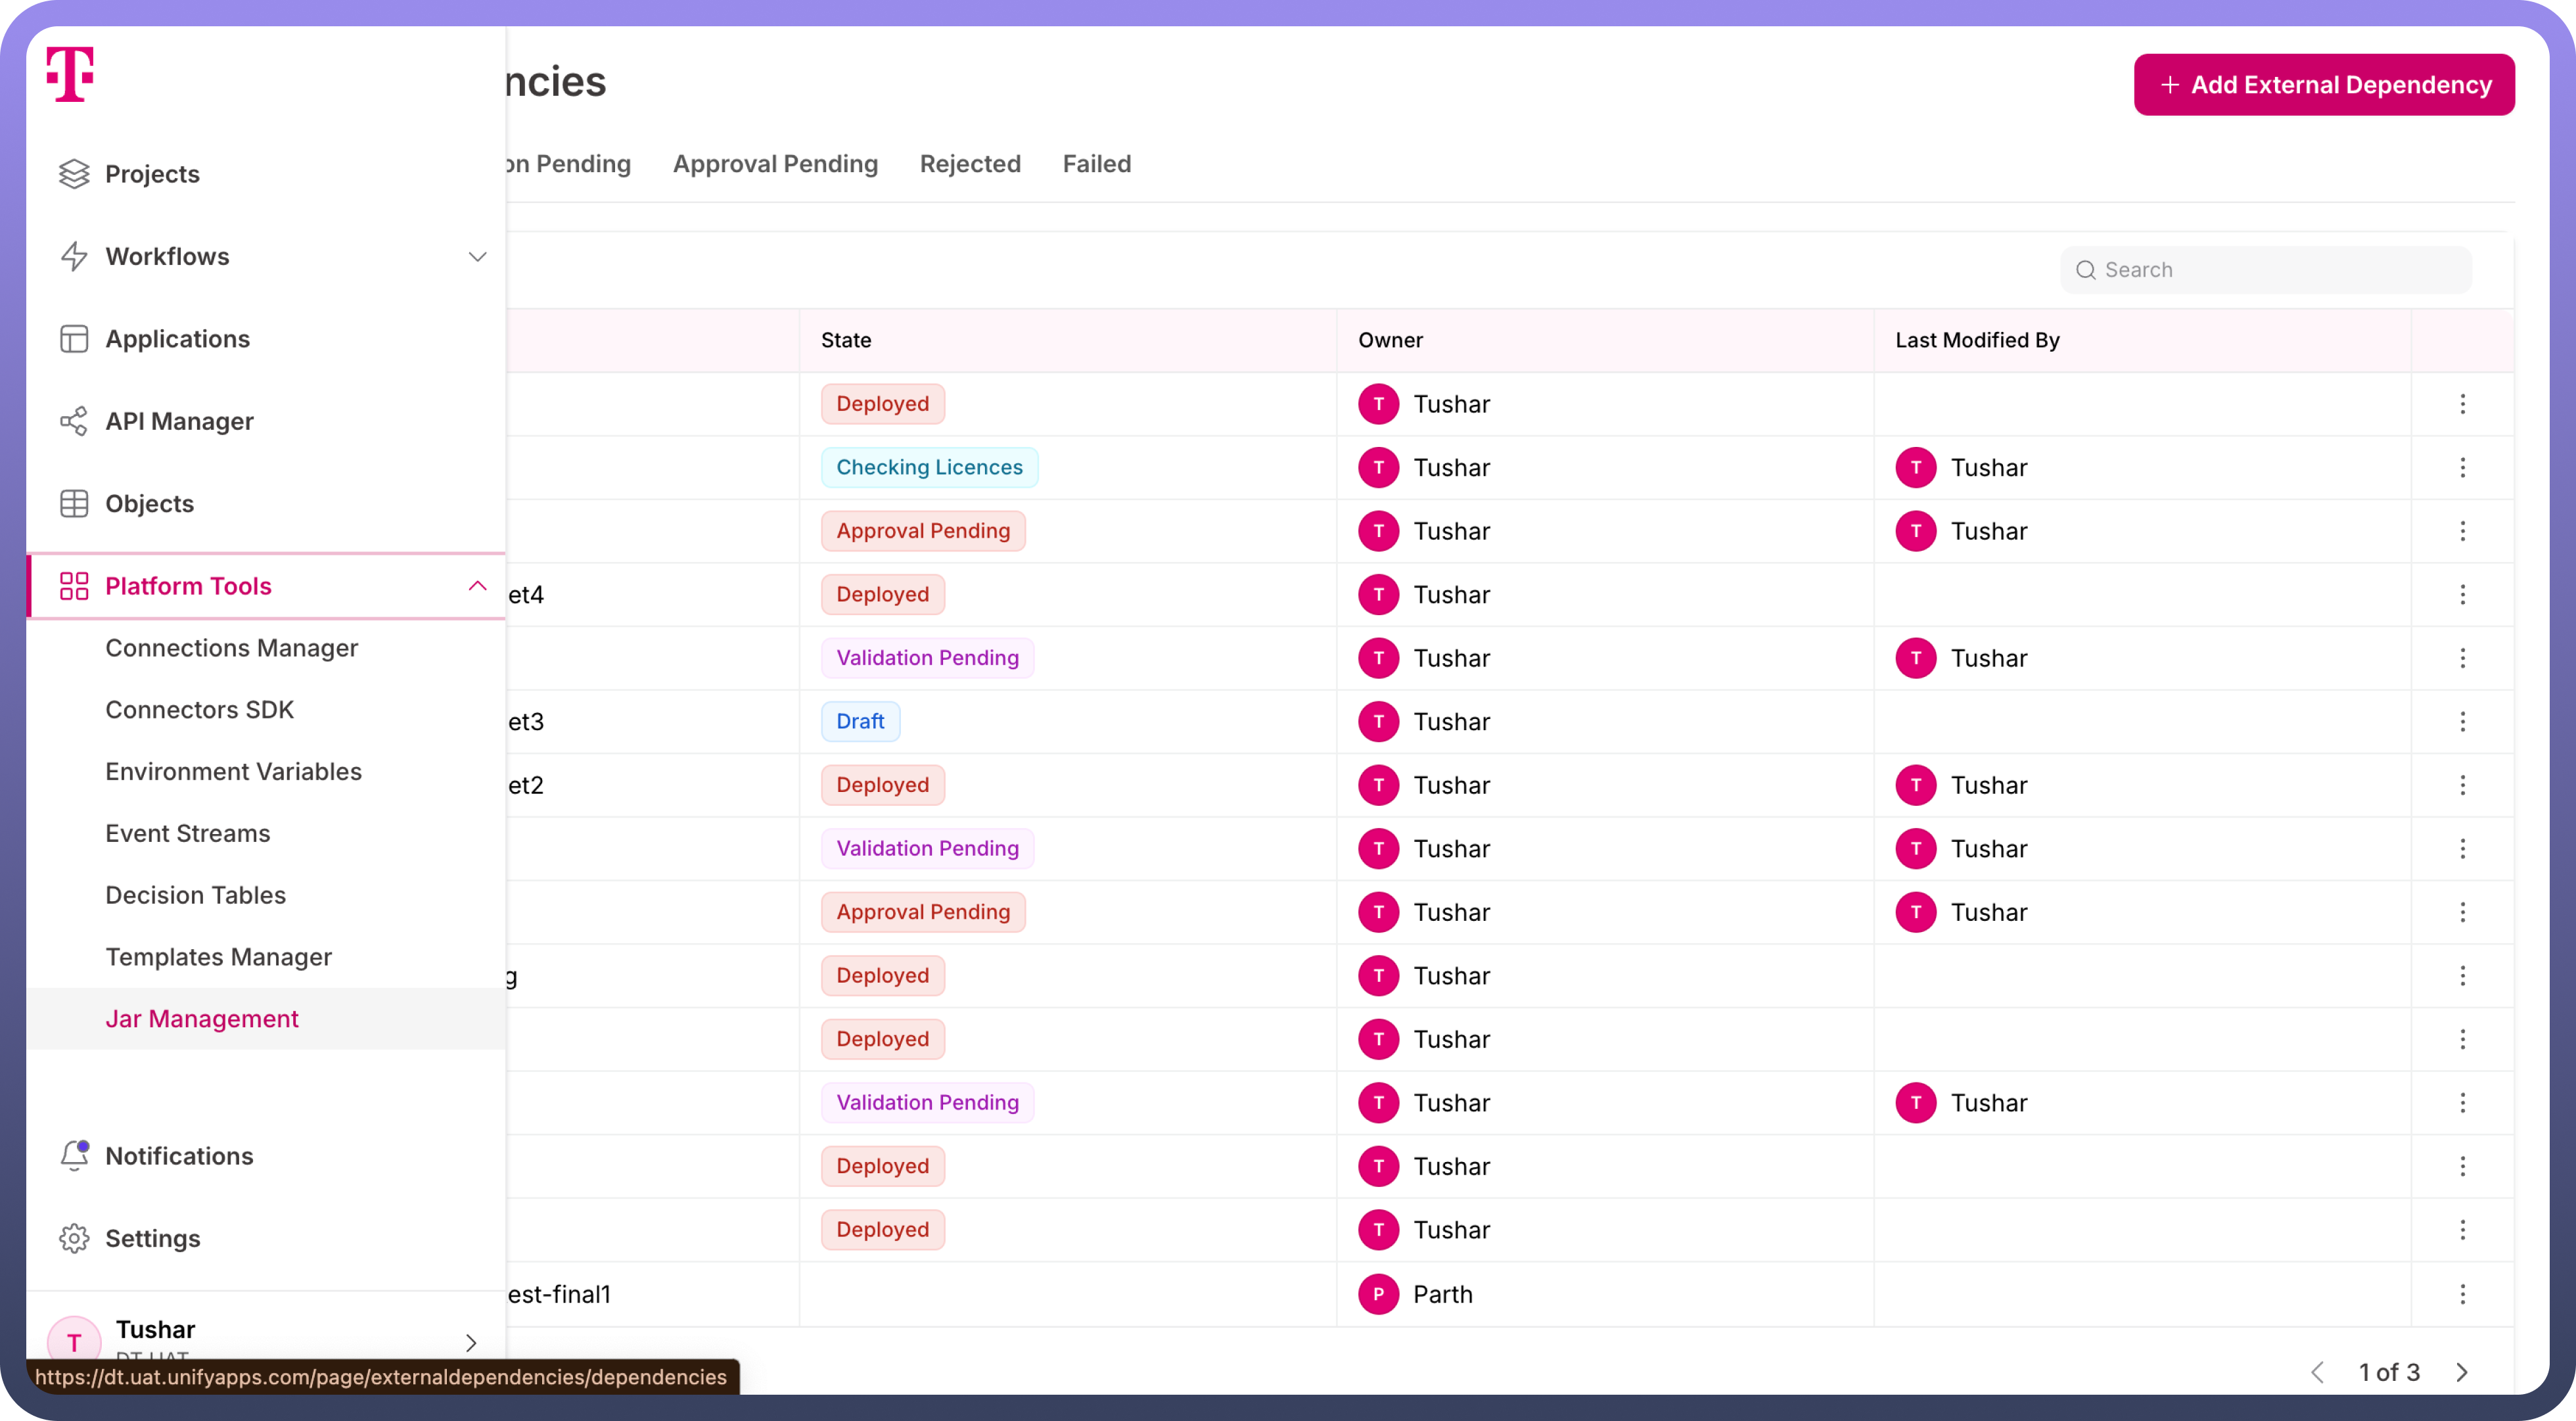
The Jar Manager is available in the left navigation bar of the platform, under the Platform tools header. Key Features of the Jar Manager includes:
License Validation for Dependency Invocation: Ensure that dependencies are invoked only after successful license validation, maintaining compliance and security standards.
RBAC-Controlled JAR Management: JAR creation, approval, editing, sharing, and deletion are managed through platform-level RBAC. Only users with the appropriate permissions can access and manage JARs.
4-Eye Principle for JAR Invocation: JAR creation follows a 4-eye principle, requiring a user’s request to invoke a JAR to be reviewed and approved by another team member, ensuring verification and compliance before proceeding.
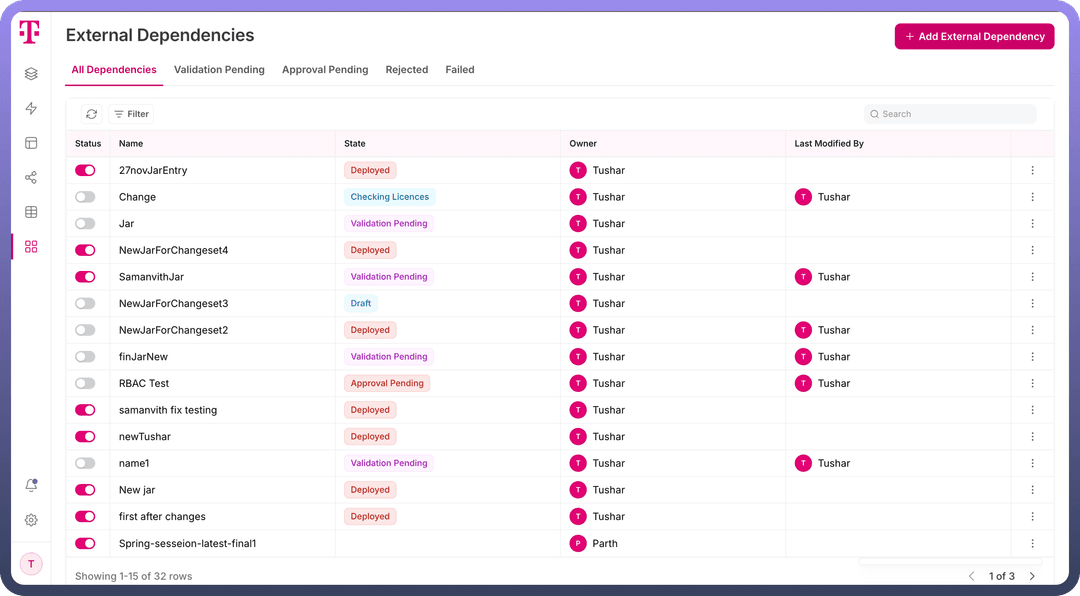
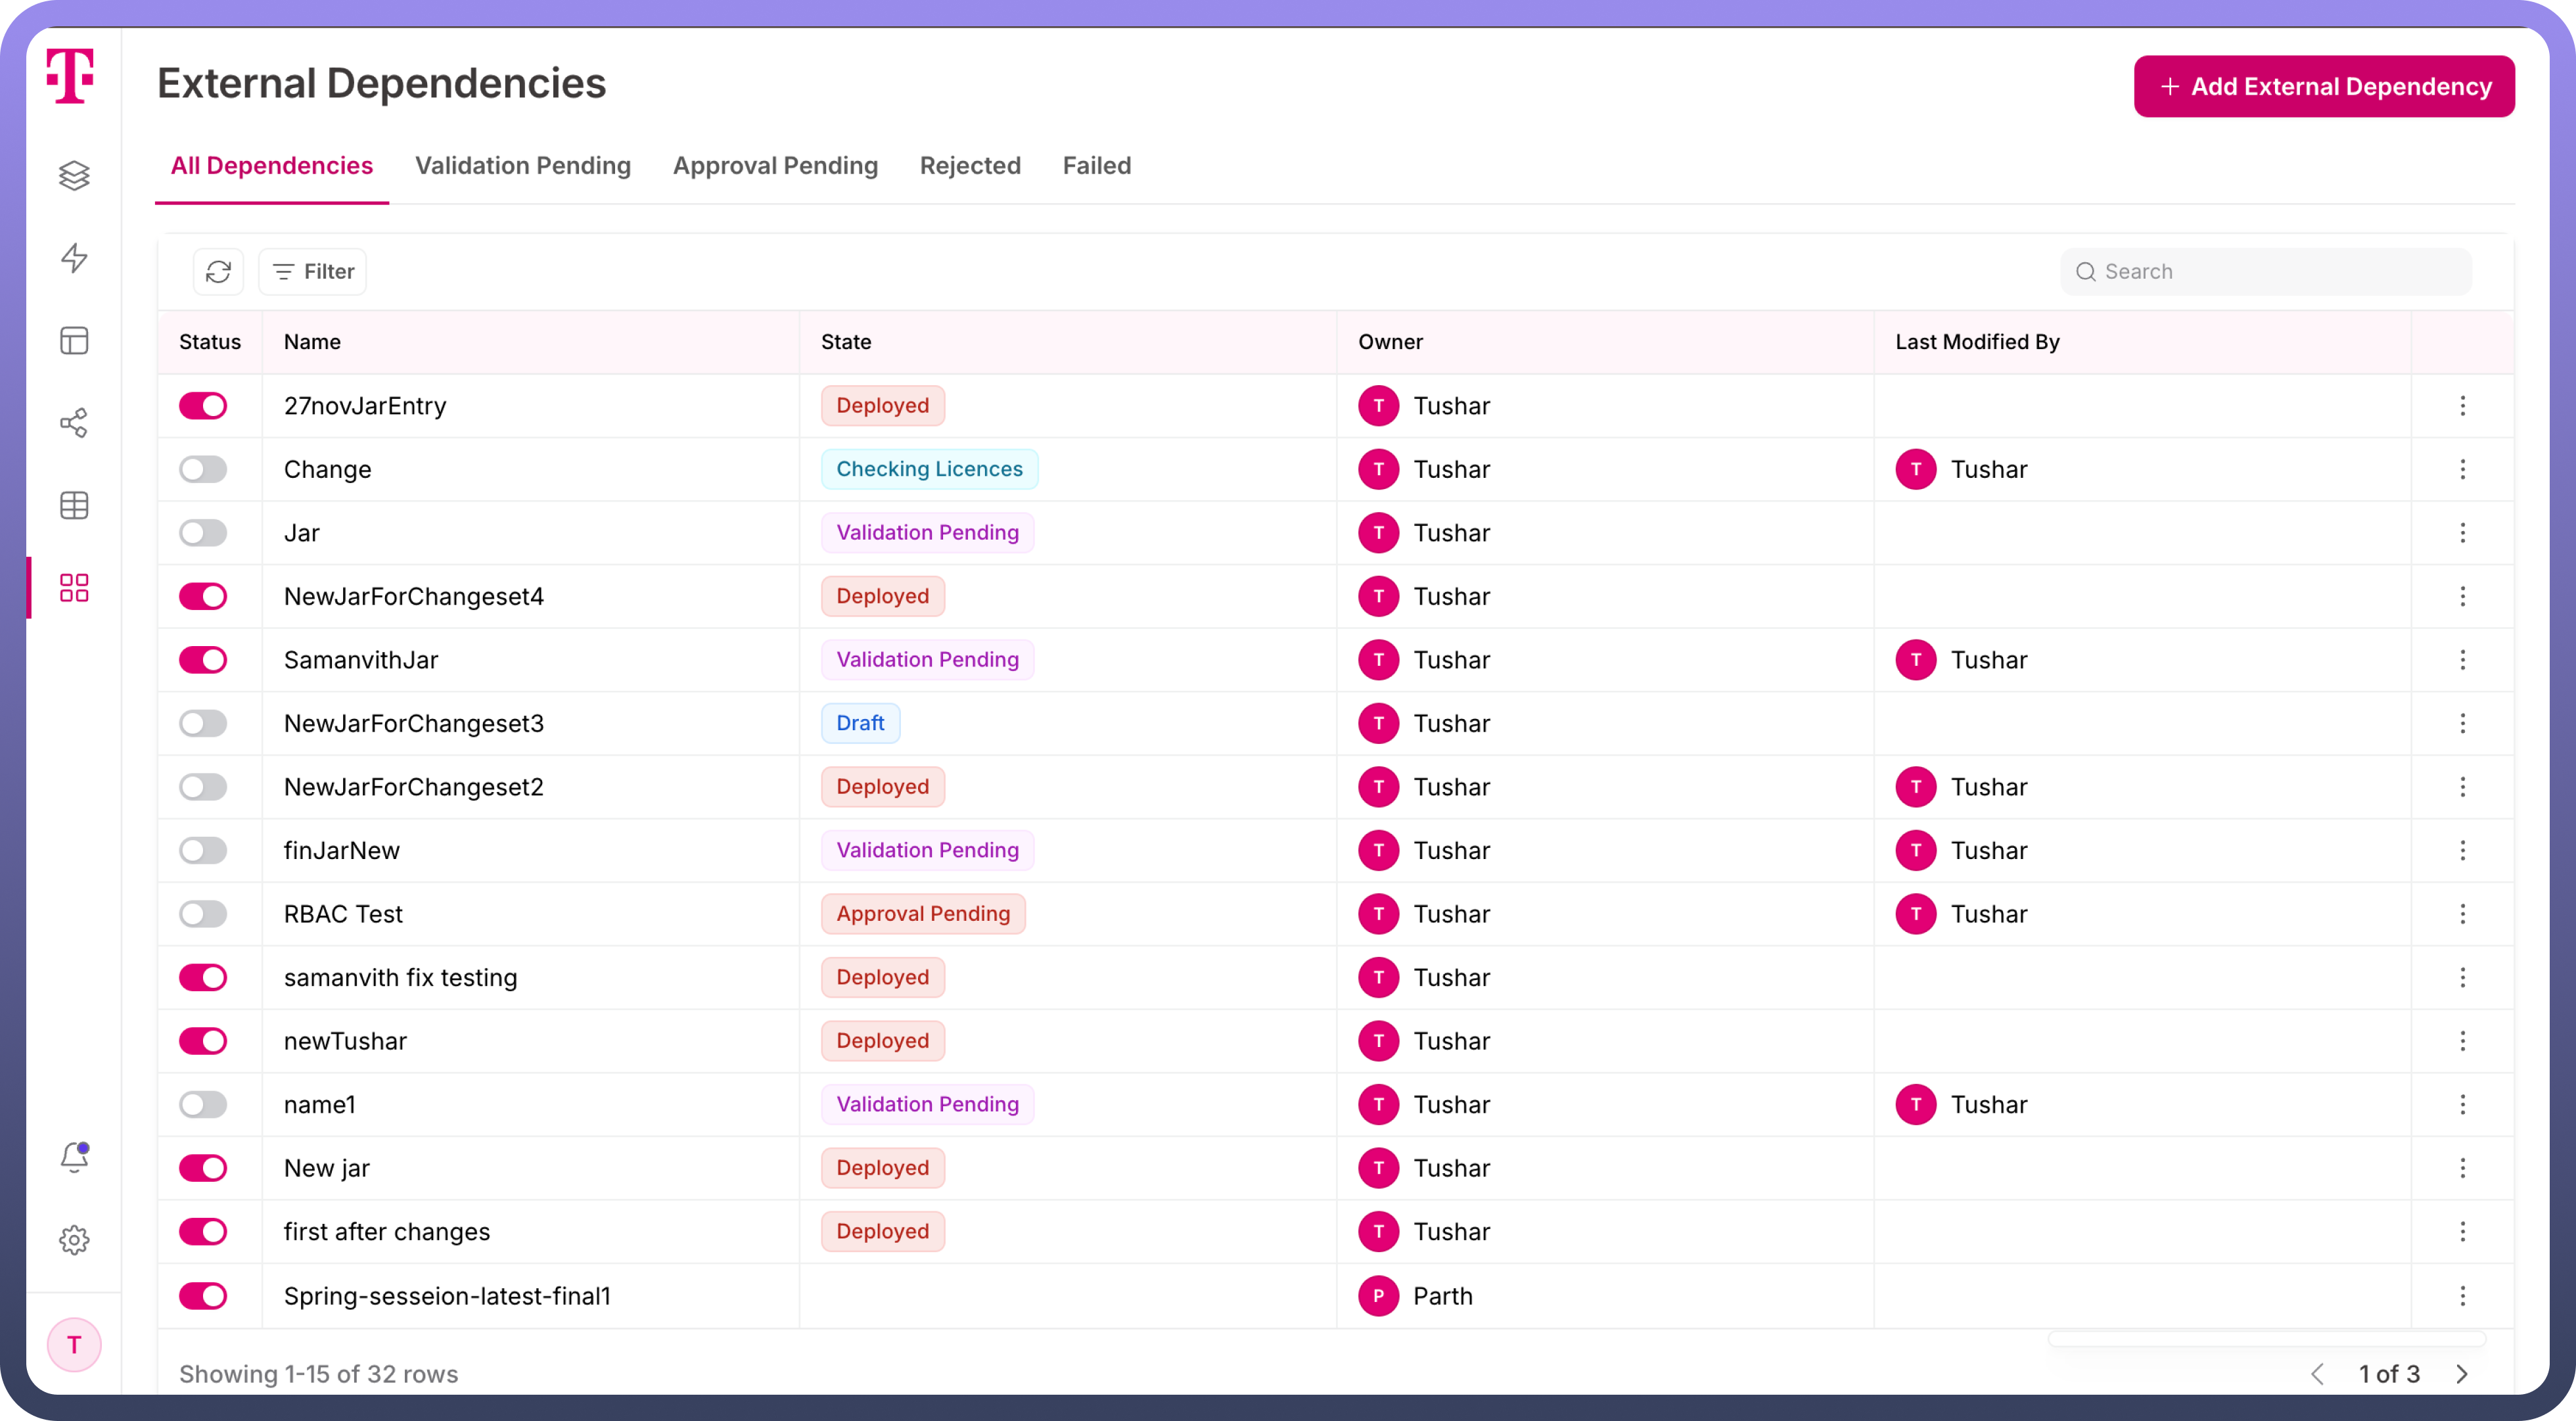
Steps to Invoke a JAR Dependency
Navigate to the JAR Manager and click on the
Add External Dependencybutton. This opens a new page with a form to provide the required details.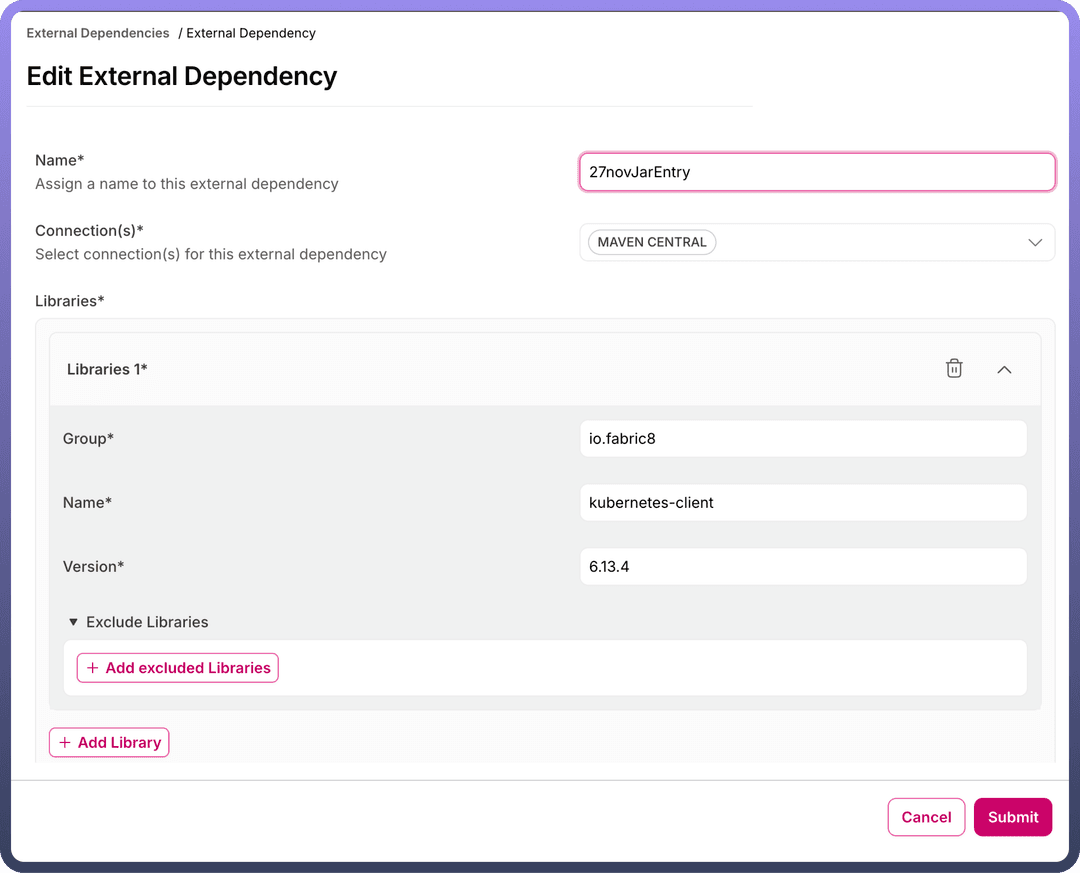
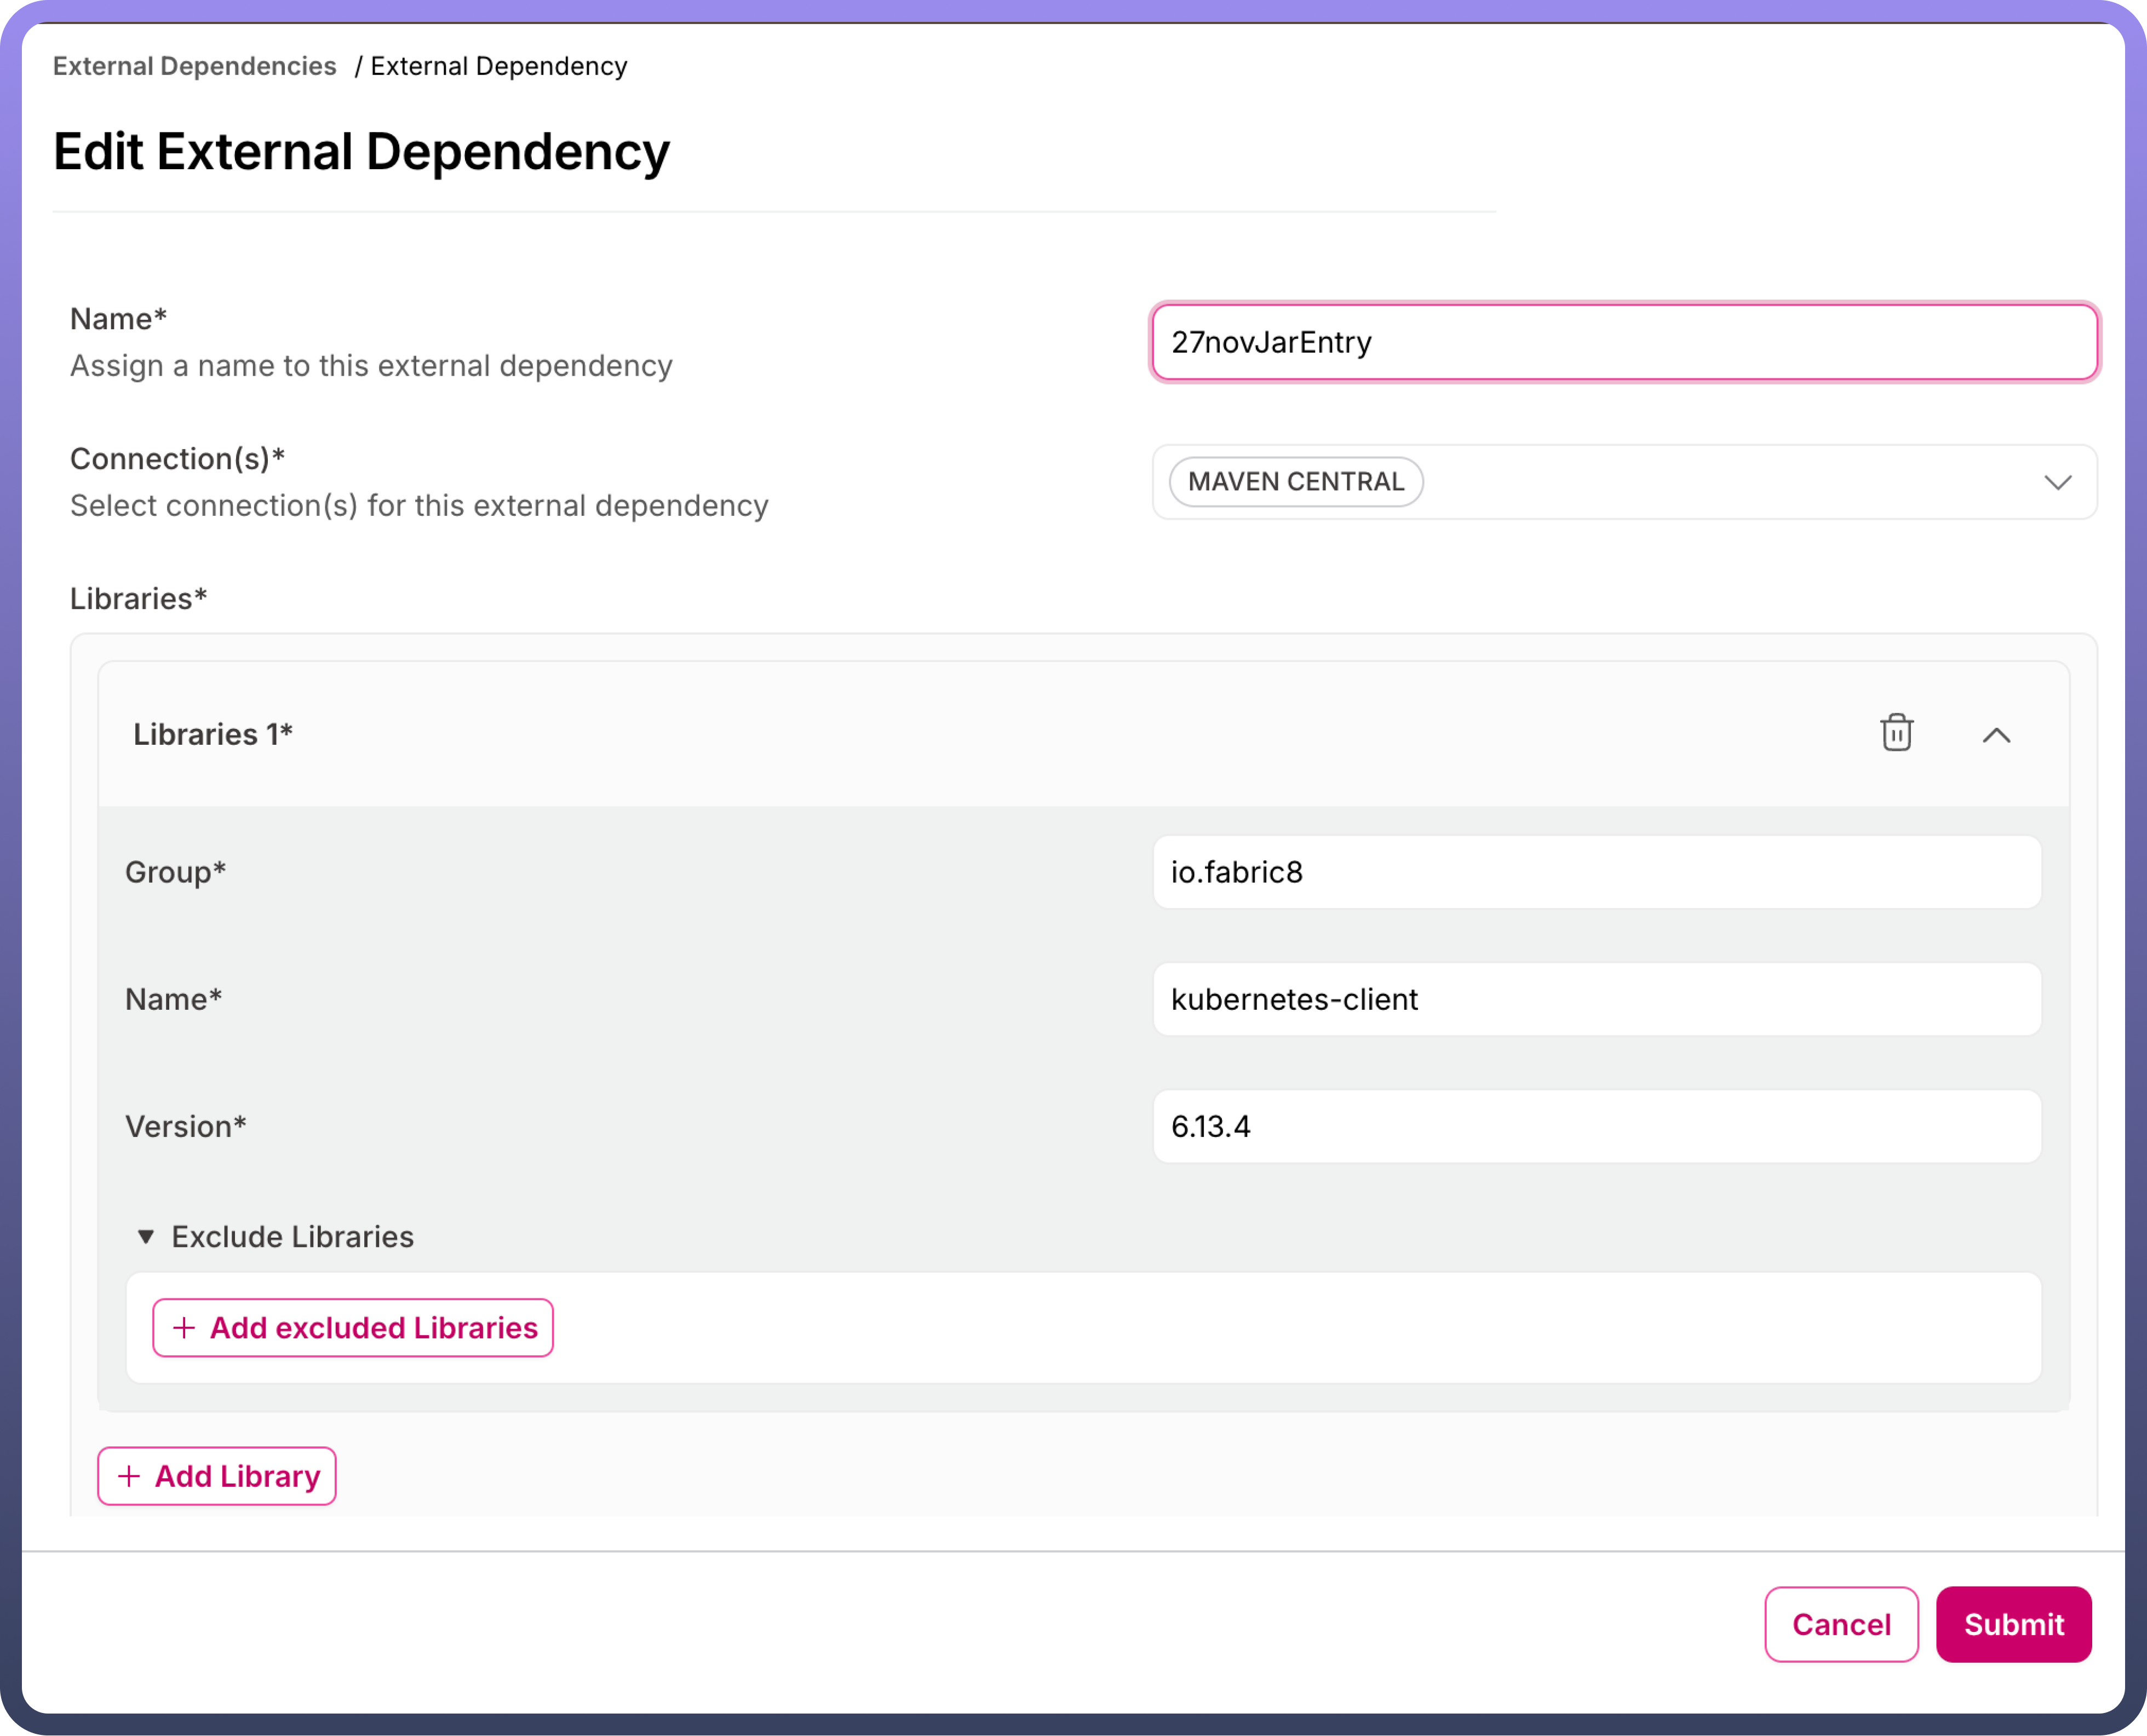
Fill in the following information to create a JAR invocation request:
Unique Name: Provide a distinct name for the JAR.Maven/Nexus Connection (Optional): Specify the connection to be used for this JAR, if applicable.Note
Step-by-Step Guide for Maven Integration
Connection Name: Choose a unique, descriptive name for your connection (e.g., "MyMavenRepoConnection"). This will help you identify the connection easily in your platform.Authentication Type: You have two options for authentication:No Authentication: Choose this option if the Maven repository you are connecting to does not require credentials for access.Basic Authentication: Choose this option if the repository requires authentication. You will need a valid username and password for access.Repository Username: Provide the username for accessing the repository. This is mandatory if authentication is required.
Repository Password: Enter the corresponding password for the username. Ensure this is handled securely.
Maven Repo URL: Enter the URL of the Maven repository you want to connect to. For example, https://repo.maven.apache.org/maven2 for accessing the central repository.Repository ID: Specify the repository ID that identifies the Maven repository. For Maven Central, this is often set tocentral, but it may vary depending on your repository configuration.Repository Type: Select the type of repository from the available options:Default: Standard Maven repository.
P2: Use if the repository follows the P2 repository format.
Ivy: Choose this if the repository is structured using the Ivy repository format.
Library Details: Include the group ID, artifact ID, and version of the library.Exclude Library Details: Mention the group ID and artifact ID for any libraries to be excluded.Application YAML: Add YAML configuration, if needed.
License Checking:
Upon successful submission of the form, the JAR entry will appear on the JAR Manager screen with the status "
Checking Licenses."Once all licenses for the requested libraries are fetched, the requester will be notified to manually validate the licenses and submit the request for approval.
Submitting for Approval:
When the status changes to "
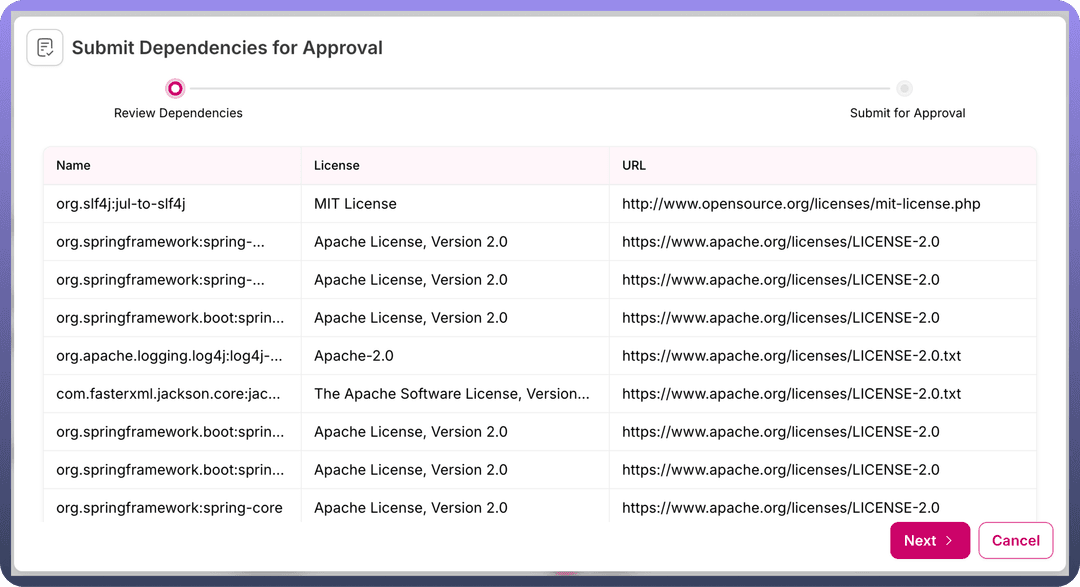
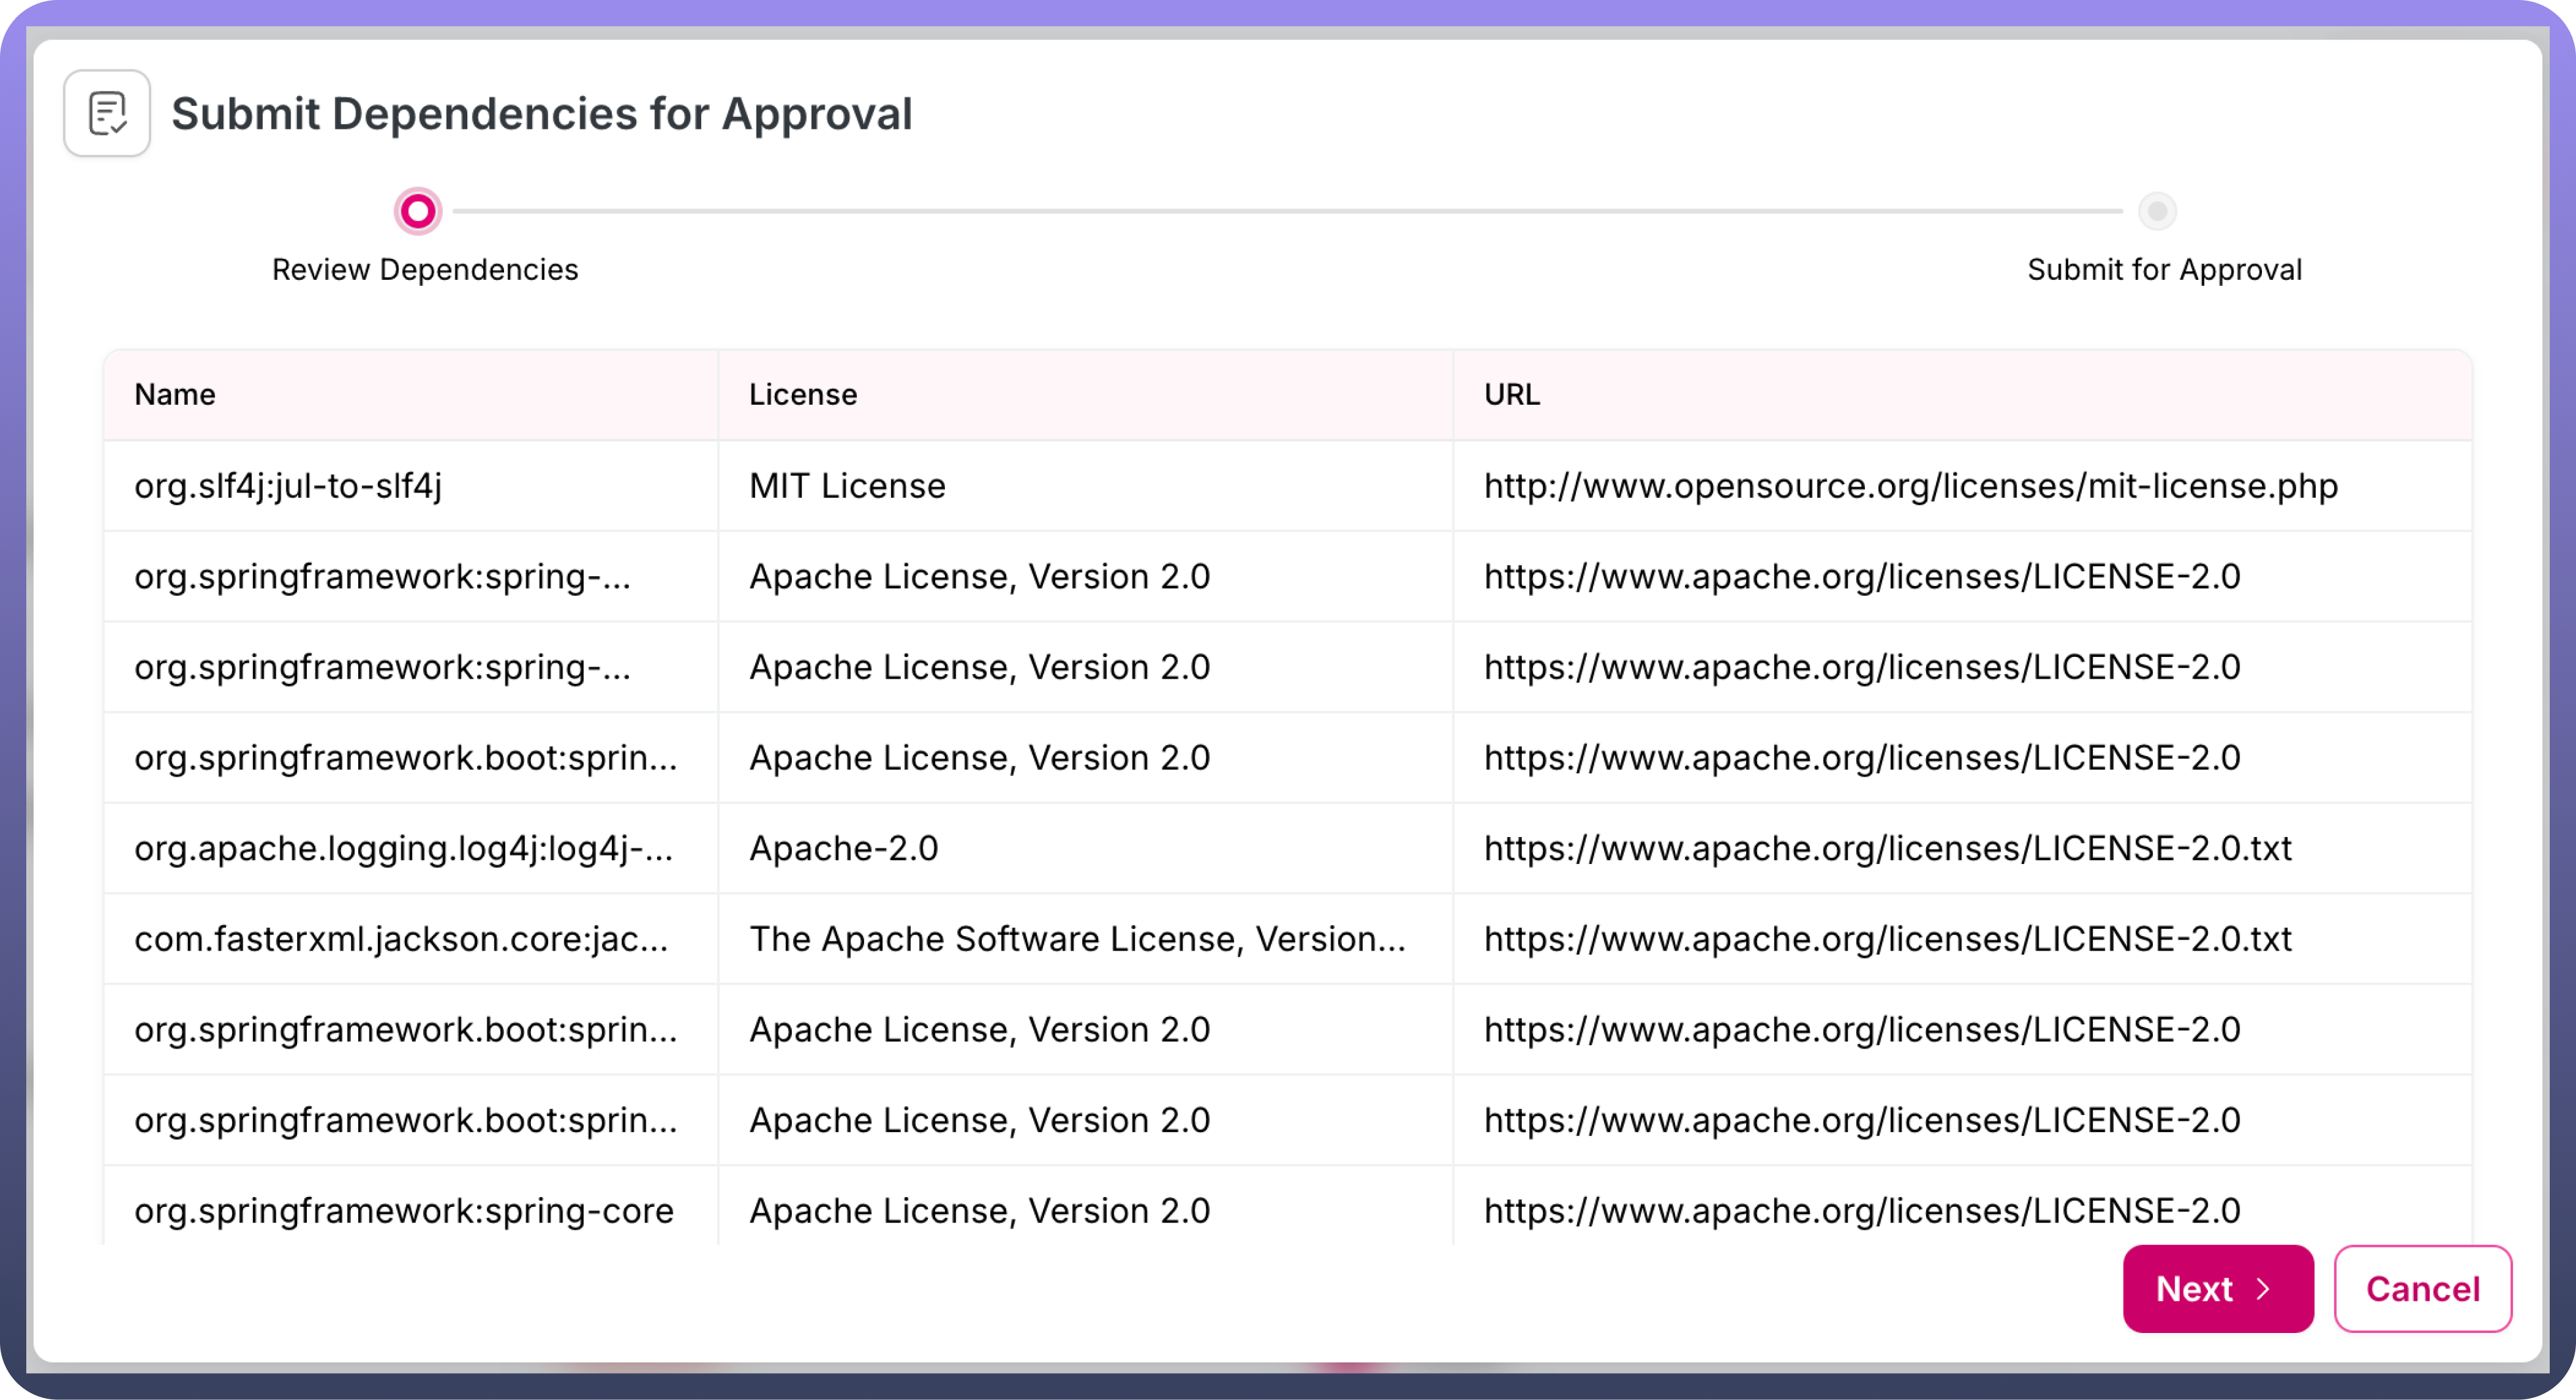
Validation Pending," the user can select the "Submit for Approval" option from the three-dot menu of the JAR request.Clicking this option opens a modal displaying all licenses corresponding to the requested libraries. The user can manually validate the licenses and proceed by clicking the
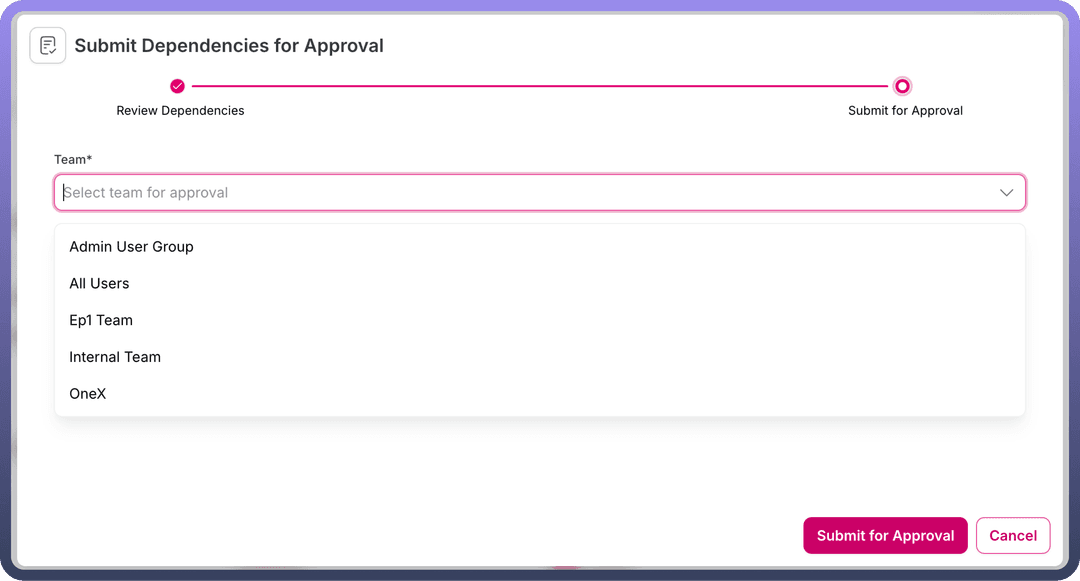
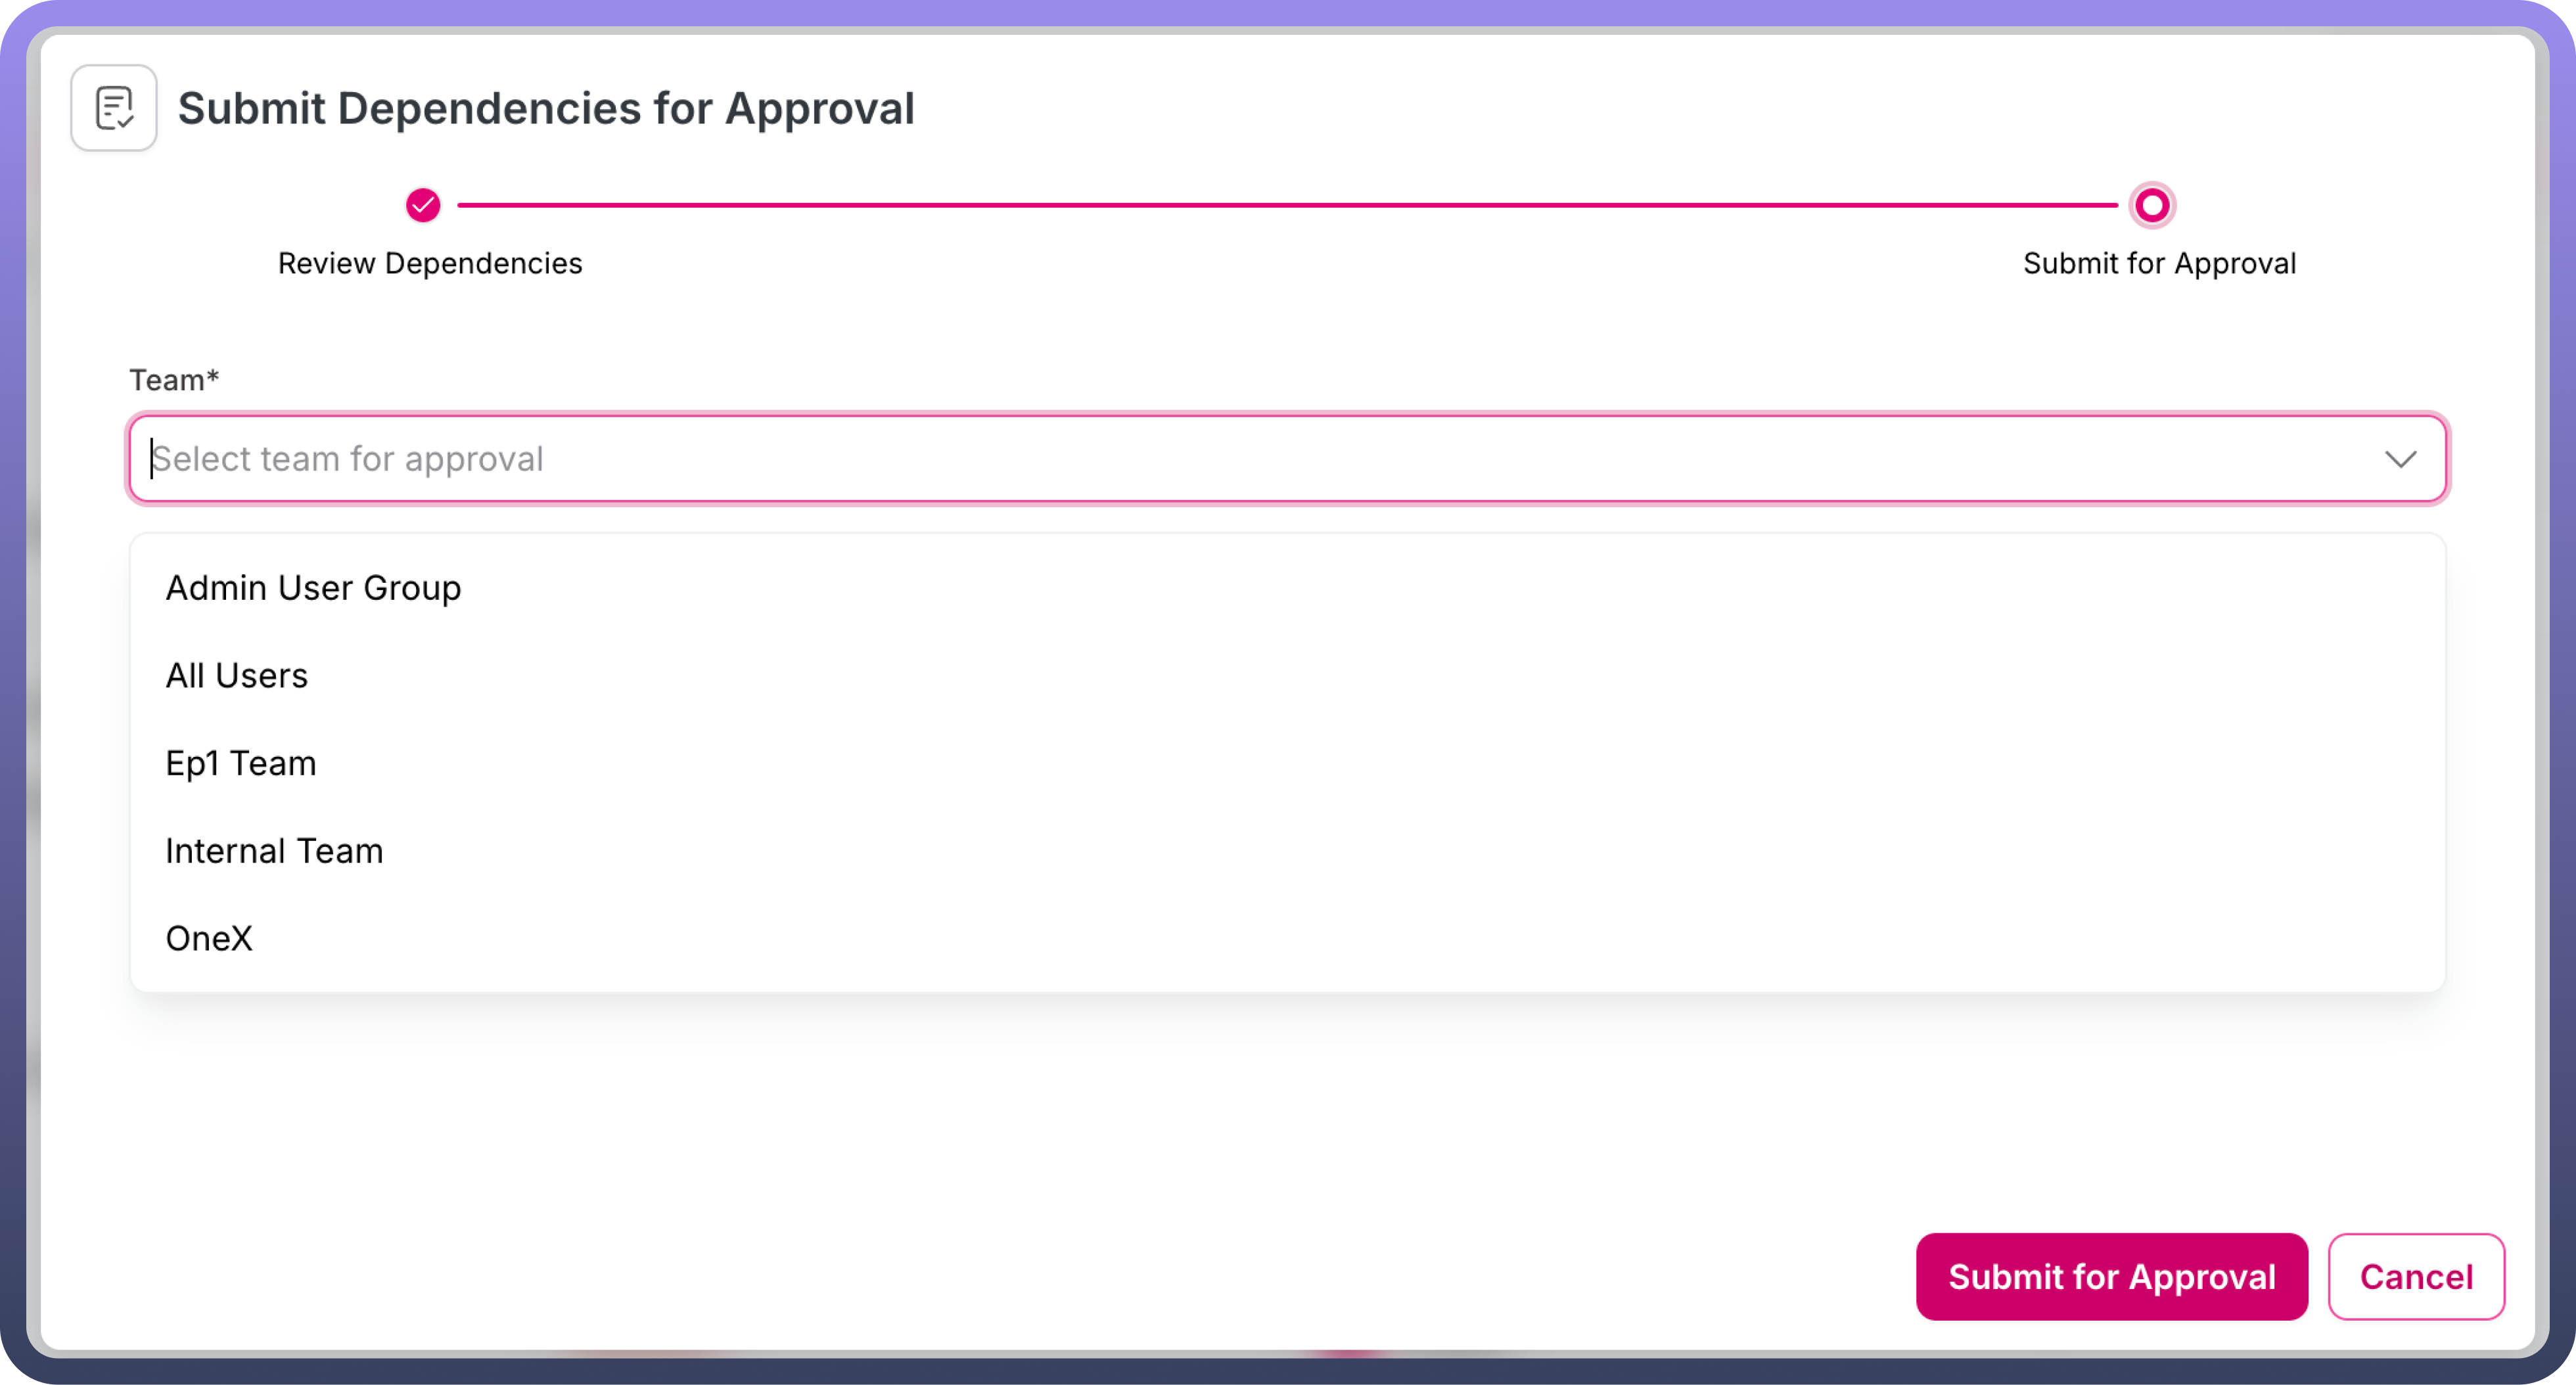
Nextbutton in the modal.In the modal, the user must select their team from a dropdown list and submit the request for approval.


Approval Process:
Once a JAR request is submitted for approval, the status updates to "
Approval Pending."Team members from the selected team can select the "
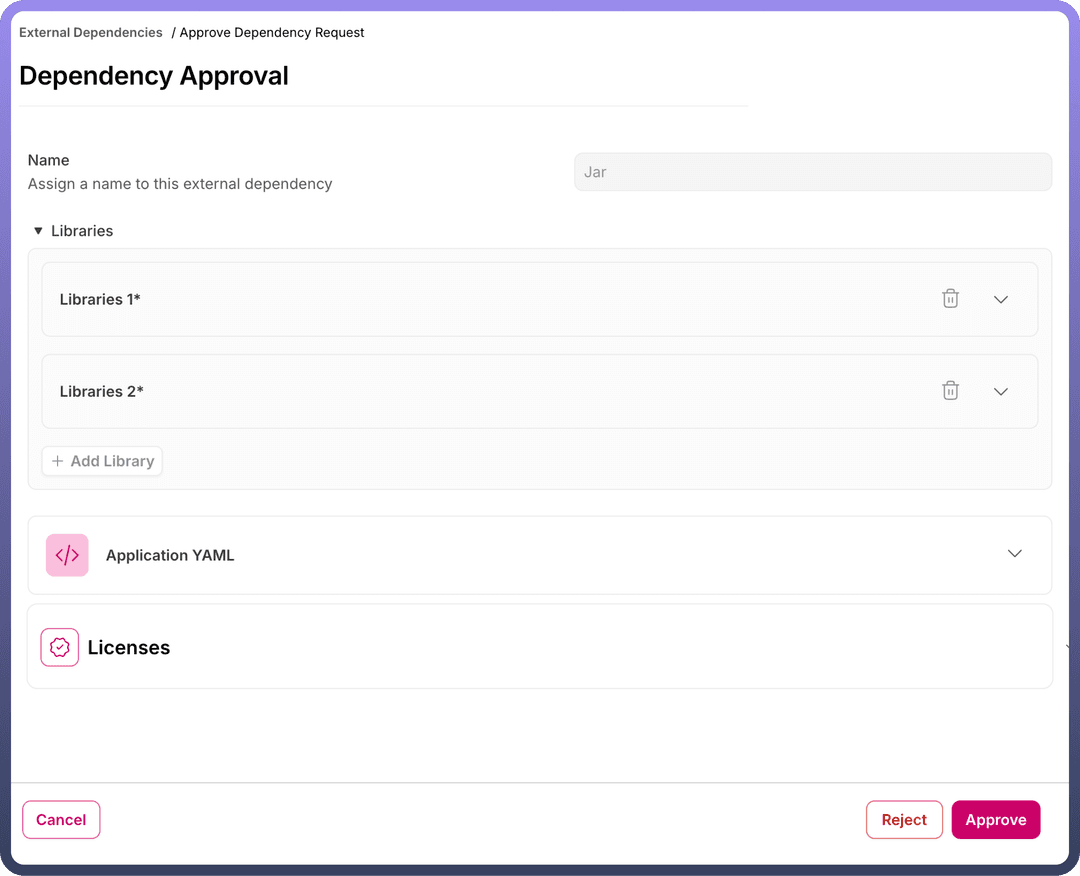
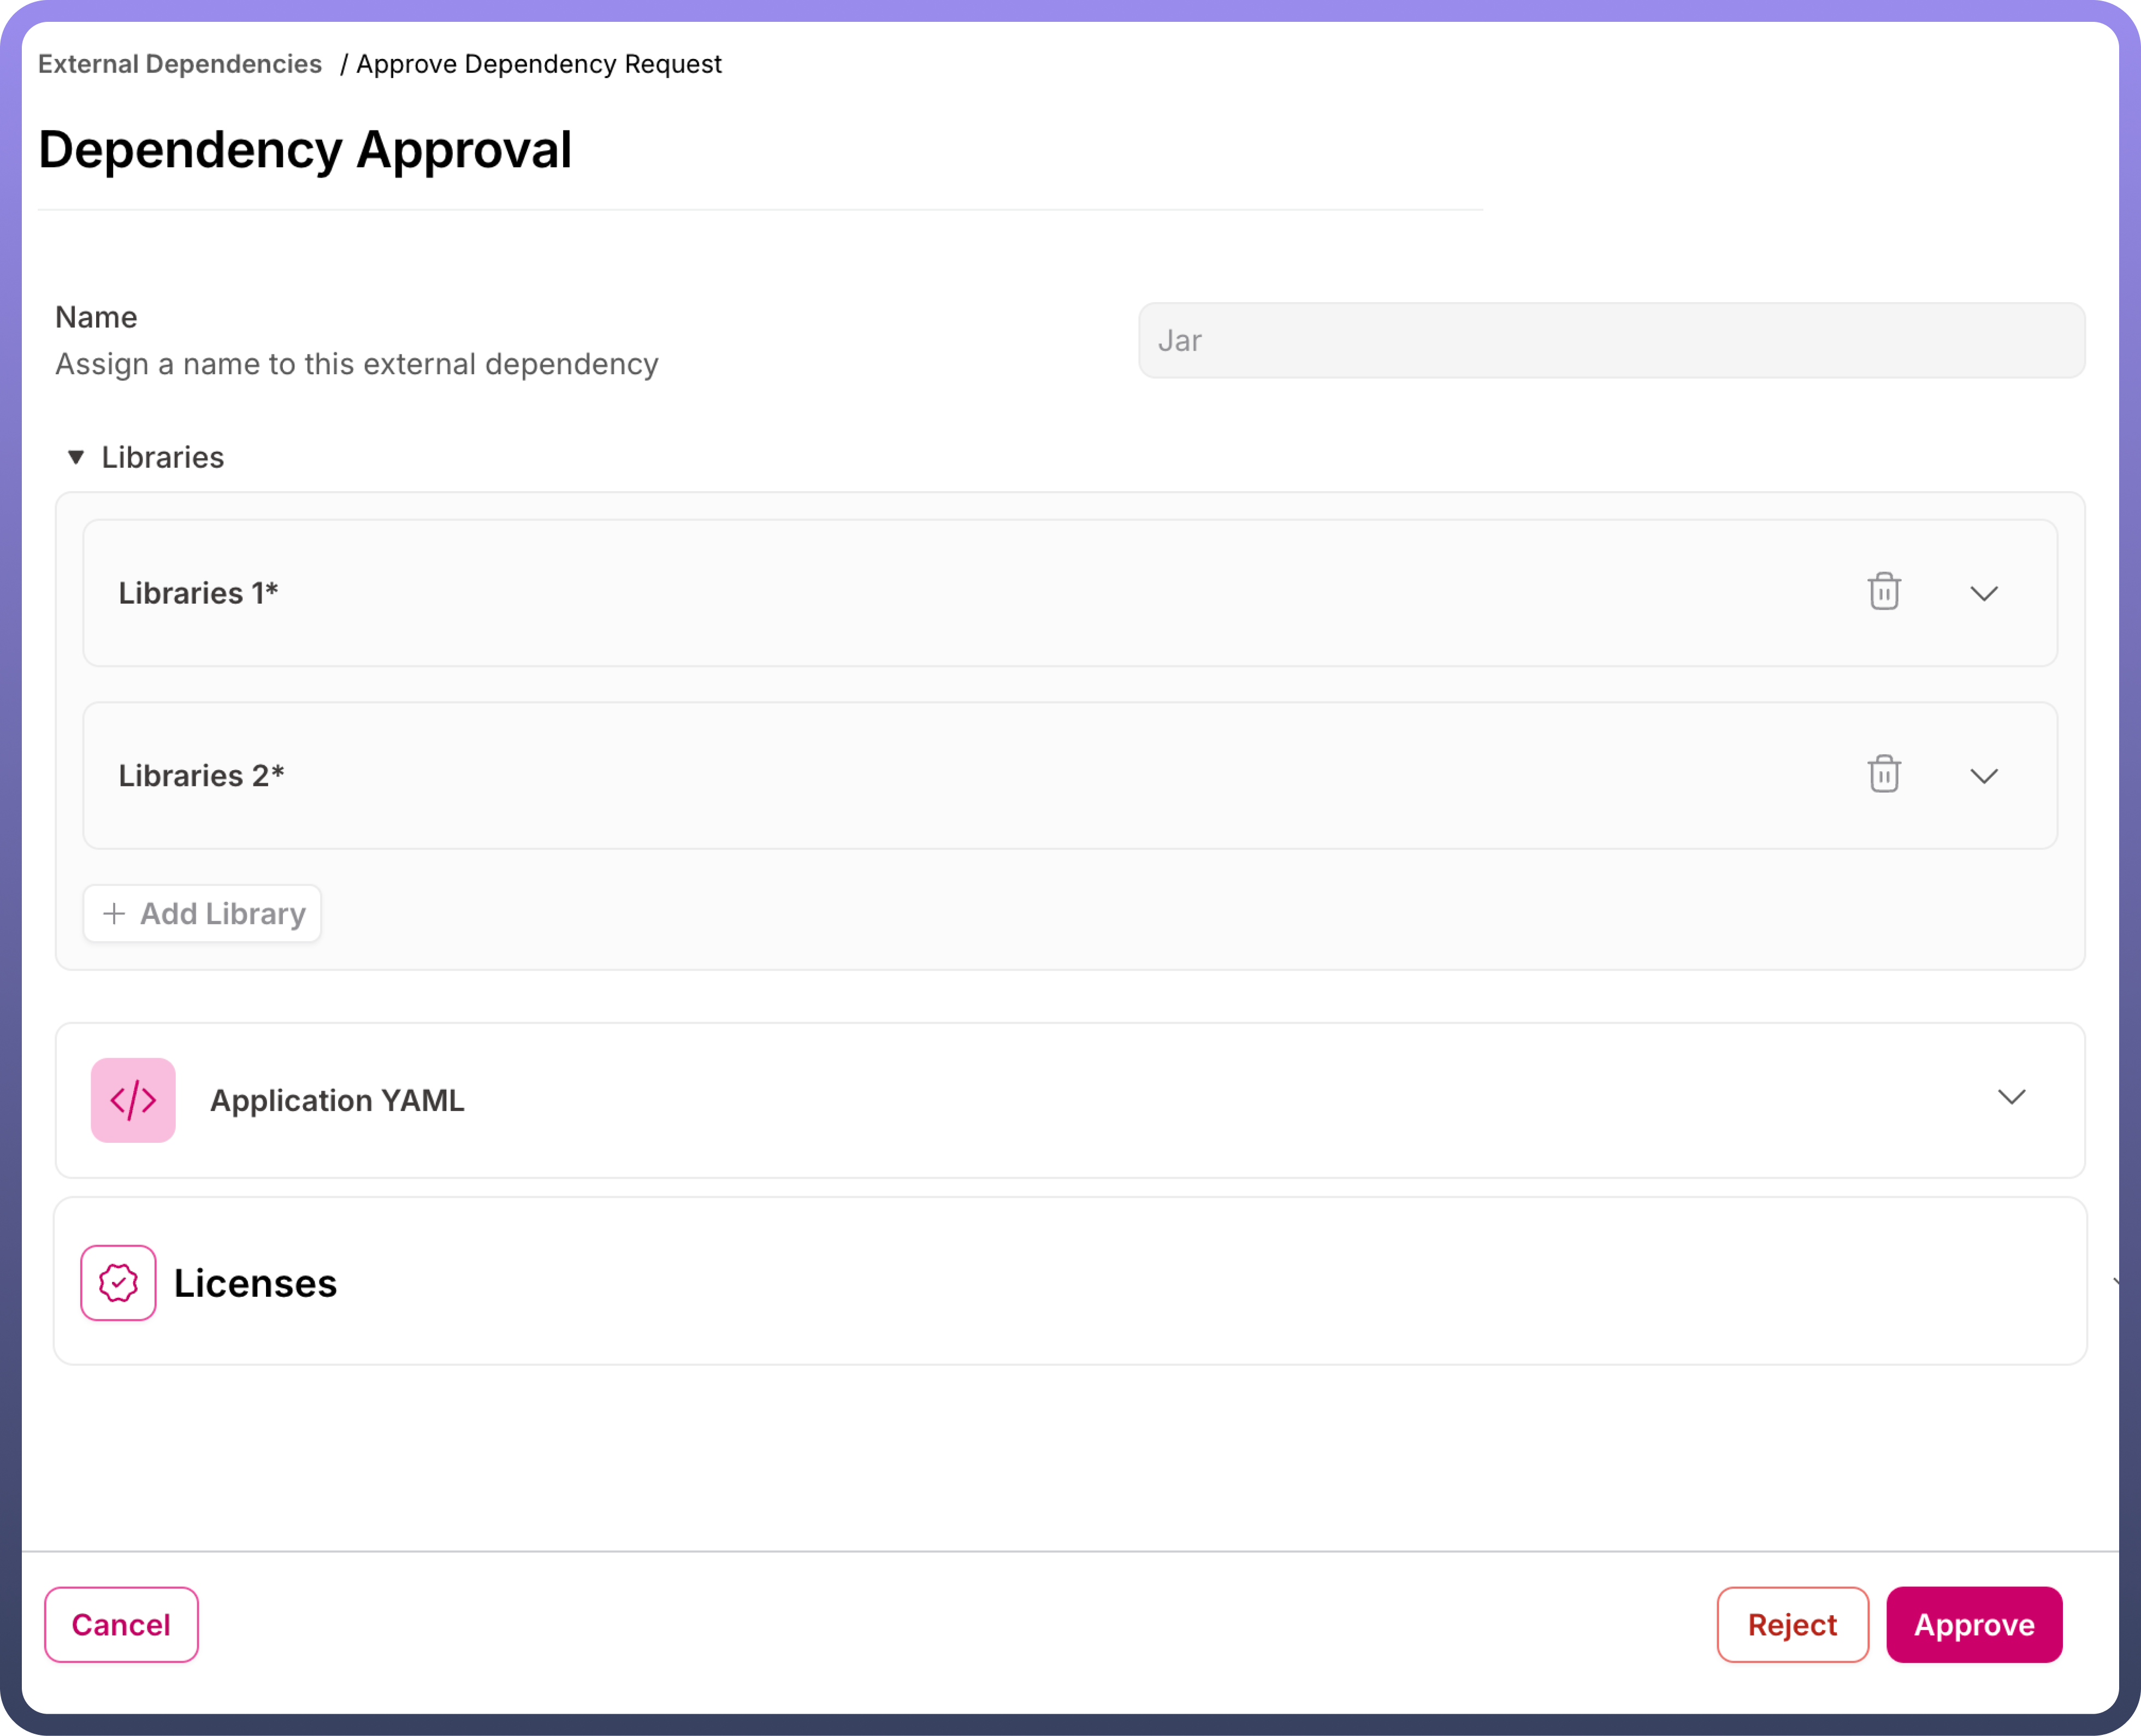
Approve Request" option from the three-dot menu.On the
Approval Page, the user can approve the JAR request, which updates the status to "Processing."

Post-Approval Process:
Successful Invocation:
After approval, the JAR invocation process begins. If successful, the status updates to "
Deployed."Deployed JARs can be used in the
DT Custom Integration Nodein automations on the platform.Logs for deployed JARs can be downloaded via the three-dot menu, which provides a ZIP file of the latest logs for the invoked JAR.
Failed Invocation:
If the JAR invocation fails, the status updates to "
Failed".Failed JARs can be edited and resubmitted for approval.
Failure logs can be accessed through the three-dot menu, using the "
Failure Logs" option to download details about the issues encountered during invocation.
To use a JAR archive in an automation:
Deploy the External Dependency:
Ensure the JAR file is in a deployed state before attempting to use it in an automation.
Invoke the JAR in the Automation:
Navigate to the
DT CUSTOM INTEGRATIONnode in your workflow.Choose the “
Execute custom java snippets” action from the node.Select the deployed JAR under the
Java Archivedropdown.
Define the Logic in the Code Editor:
Use the code editor model to write custom logic using the methods available in the JAR.
Define the required methods and arguments to fetch the functionality of the JAR.
.png&w=1080&q=75&dpl=dpl_5H5sj51KgVz3D2yHXDGeMZK5v5yJ)
.png)
Implementation Details
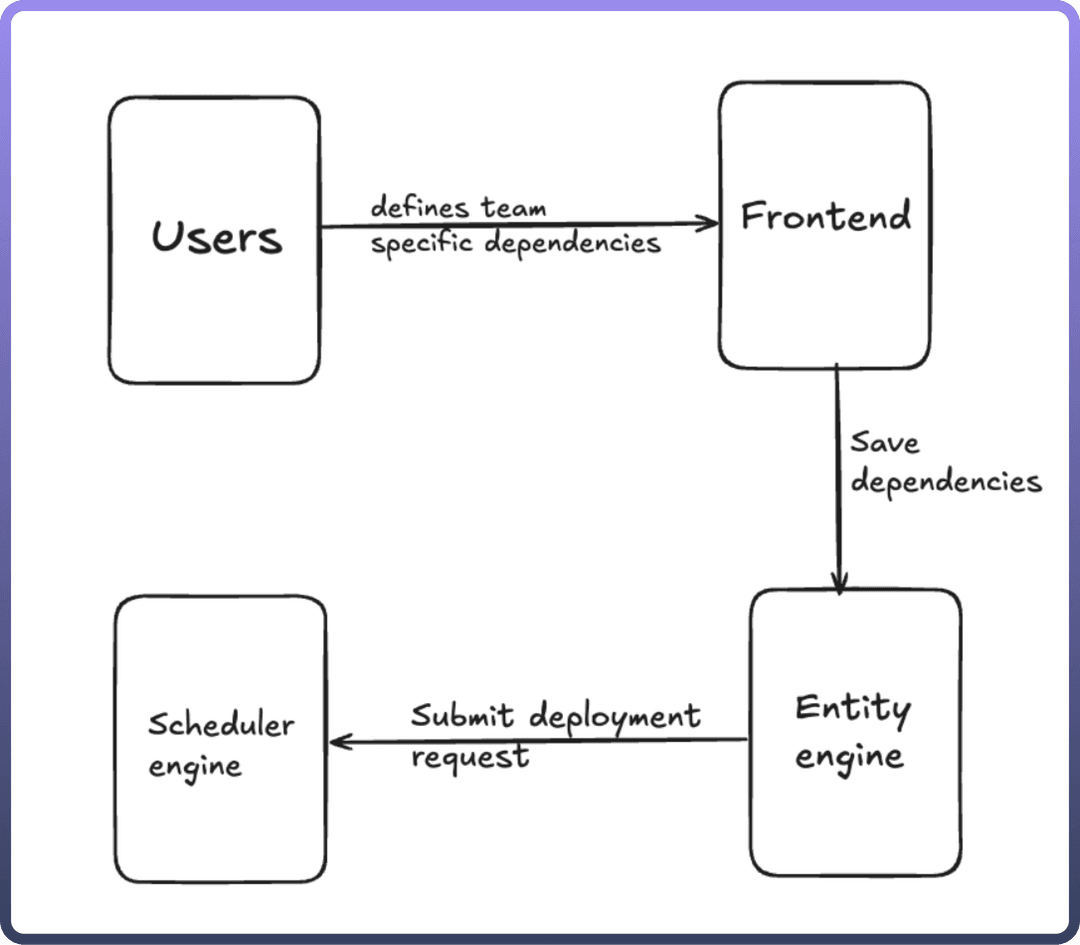
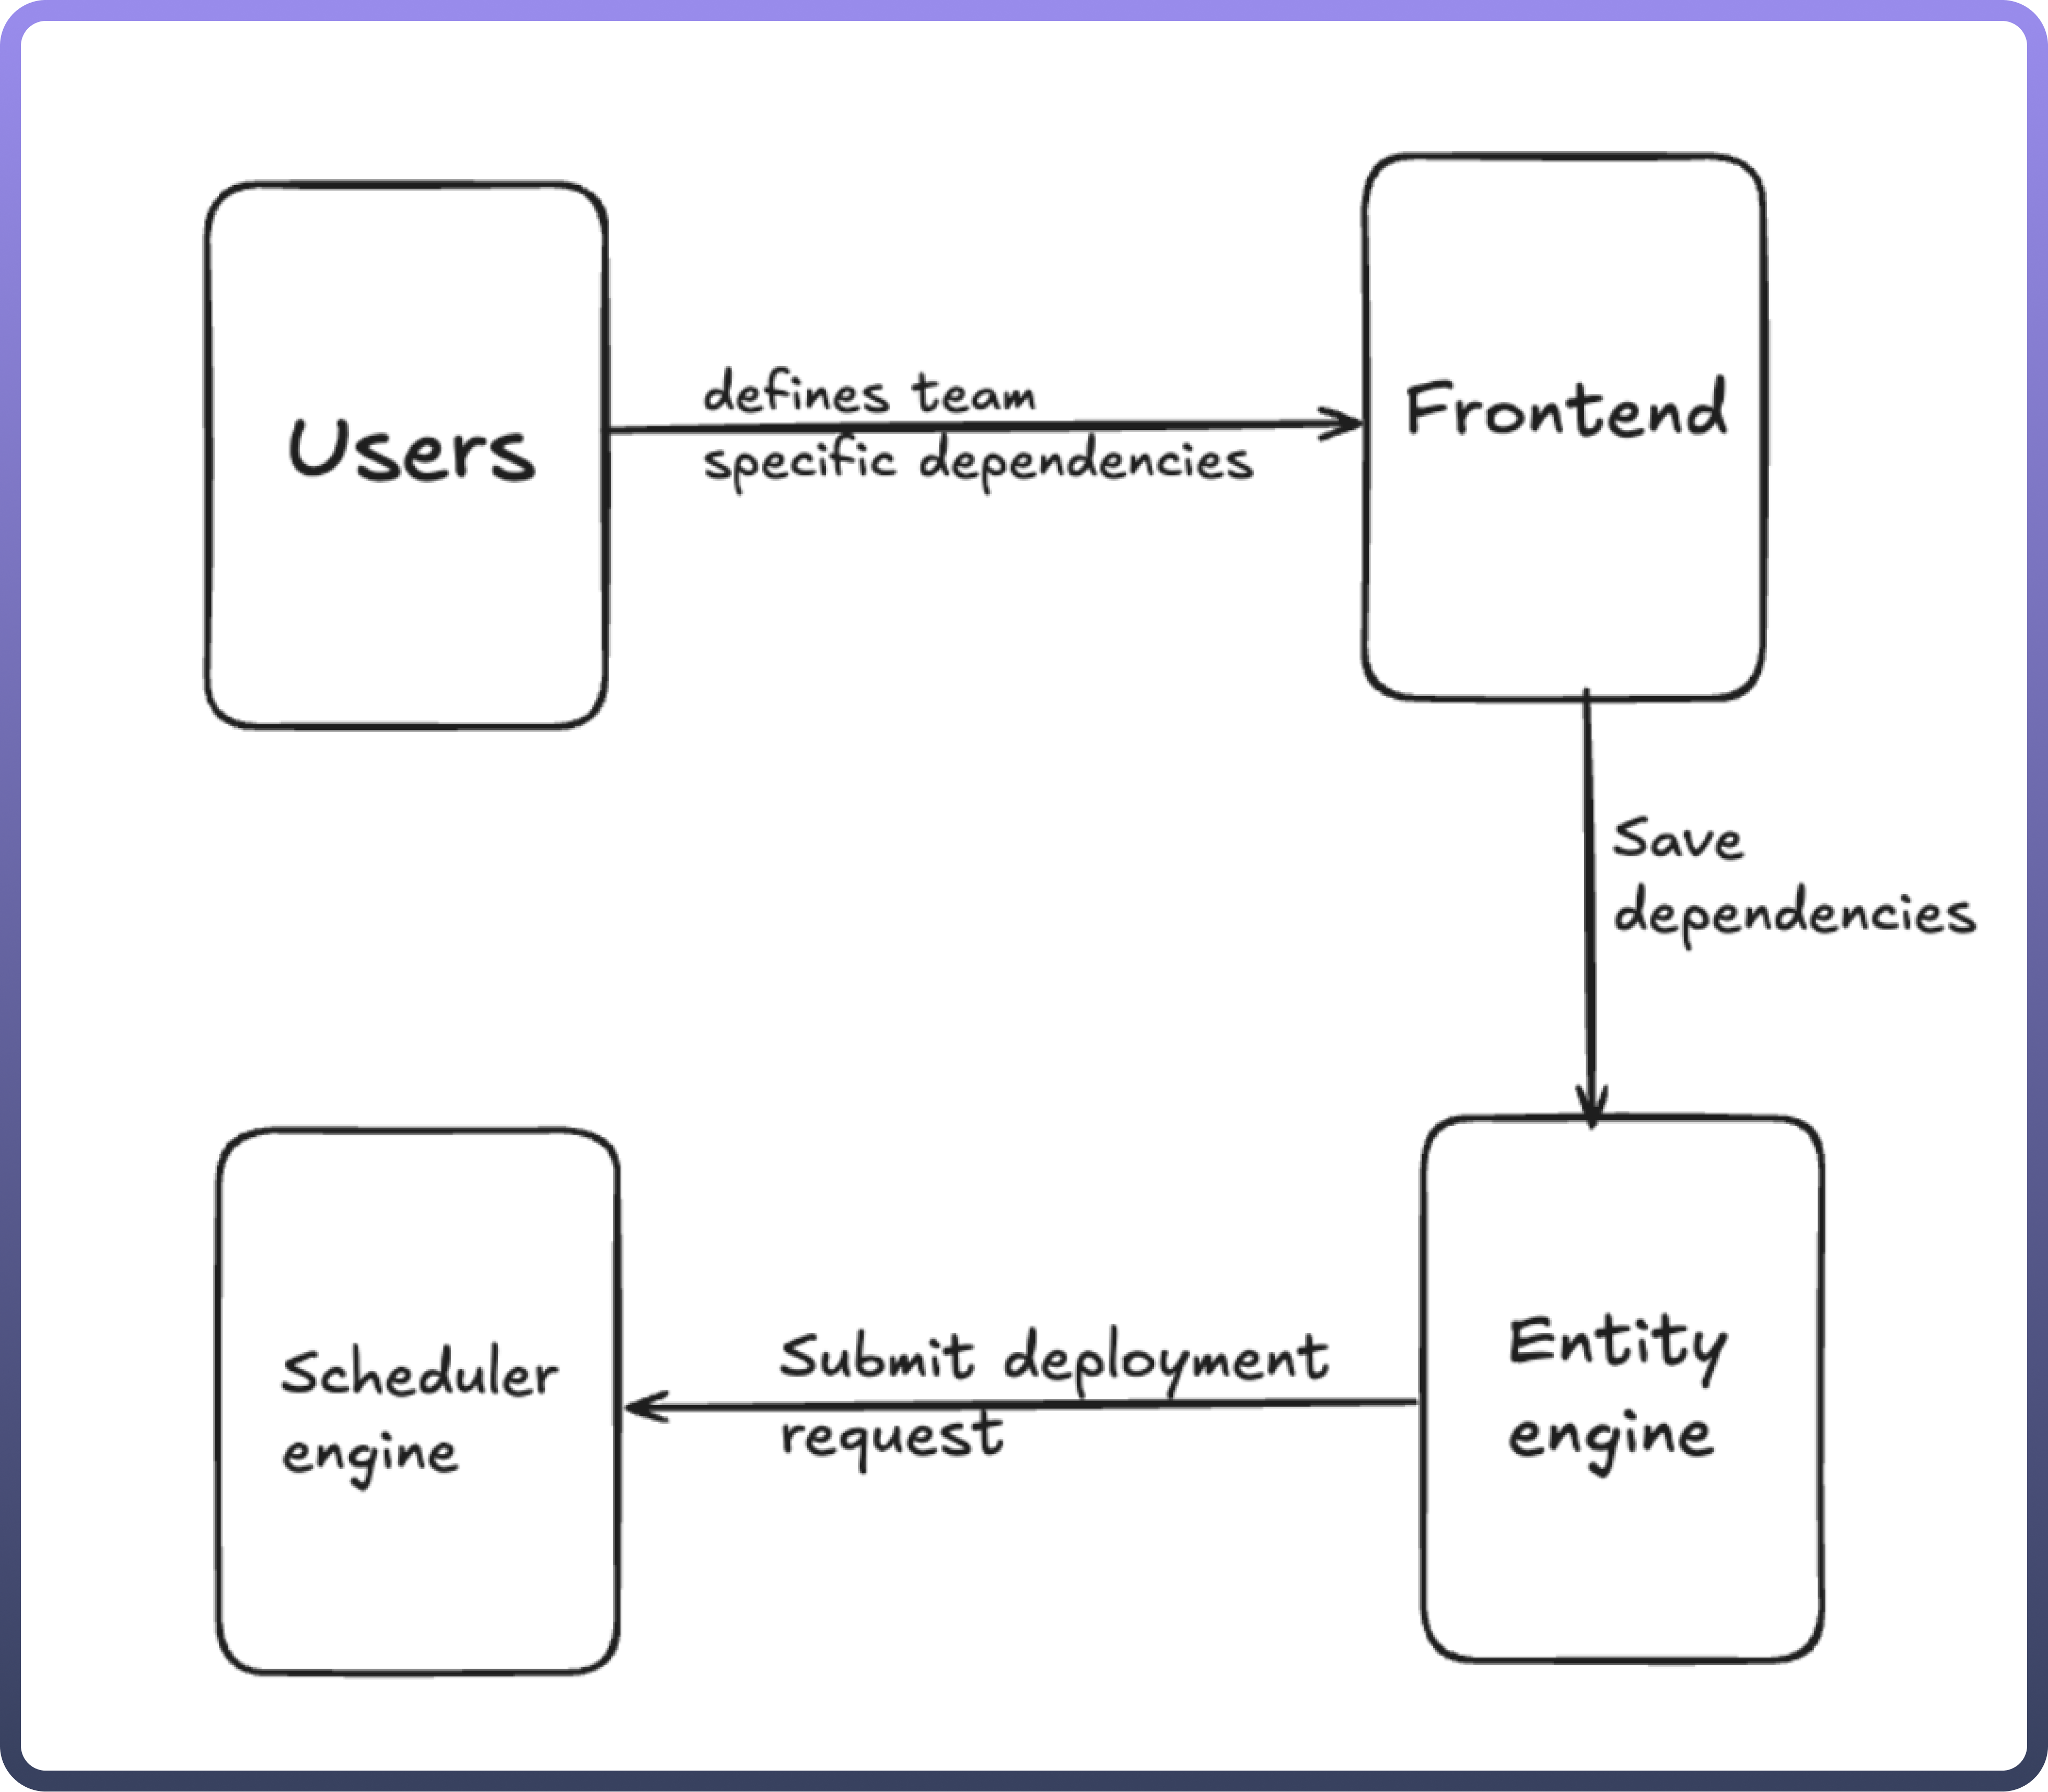
Dependency Definition Flow
User Interface (Frontend)
Role: This component serves as the entry point for teams to define and manage their specific dependencies.
Interaction: Teams interact with the frontend to input the dependencies they require for deployment.
Output: The defined dependencies are saved for processing by the Entity Engine.
Entity Engine
Role: This backend component is responsible for storing and managing dependencies defined by teams.
Functionality:
Receives the dependencies from the frontend.
Saves dependencies into persistent storage for future reference.
Handles validation or adjustments to dependencies if necessary.
Interaction: The Entity Engine submits deployment requests to the Scheduler Engine.
Scheduler Engine
Role: The core component responsible for managing deployment requests.
Functionality:
Receives deployment requests from the Entity Engine.
Handles the execution and scheduling of deployment based on defined dependencies.
Monitors deployment status and can trigger callbacks or alerts upon completion or failure.
Output: Successful or failed deployment notification.
Dependency Deployment Flow
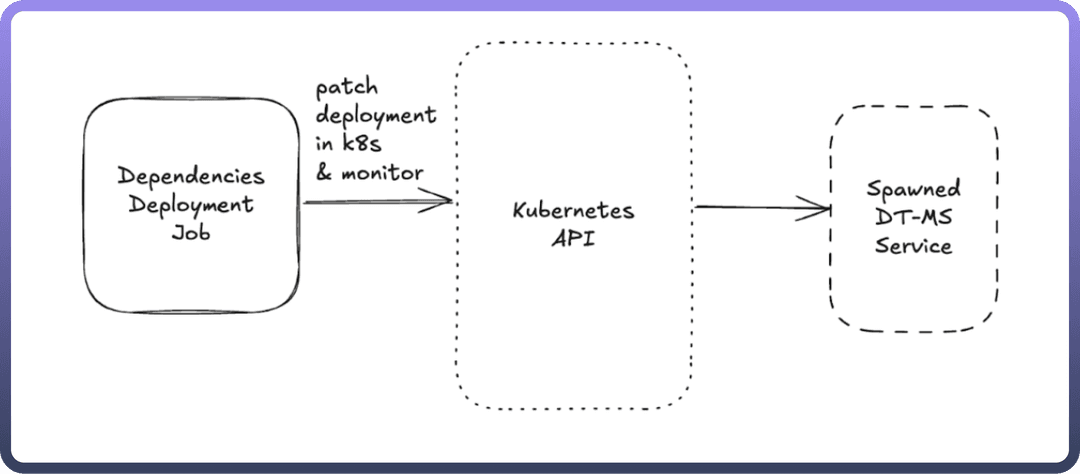
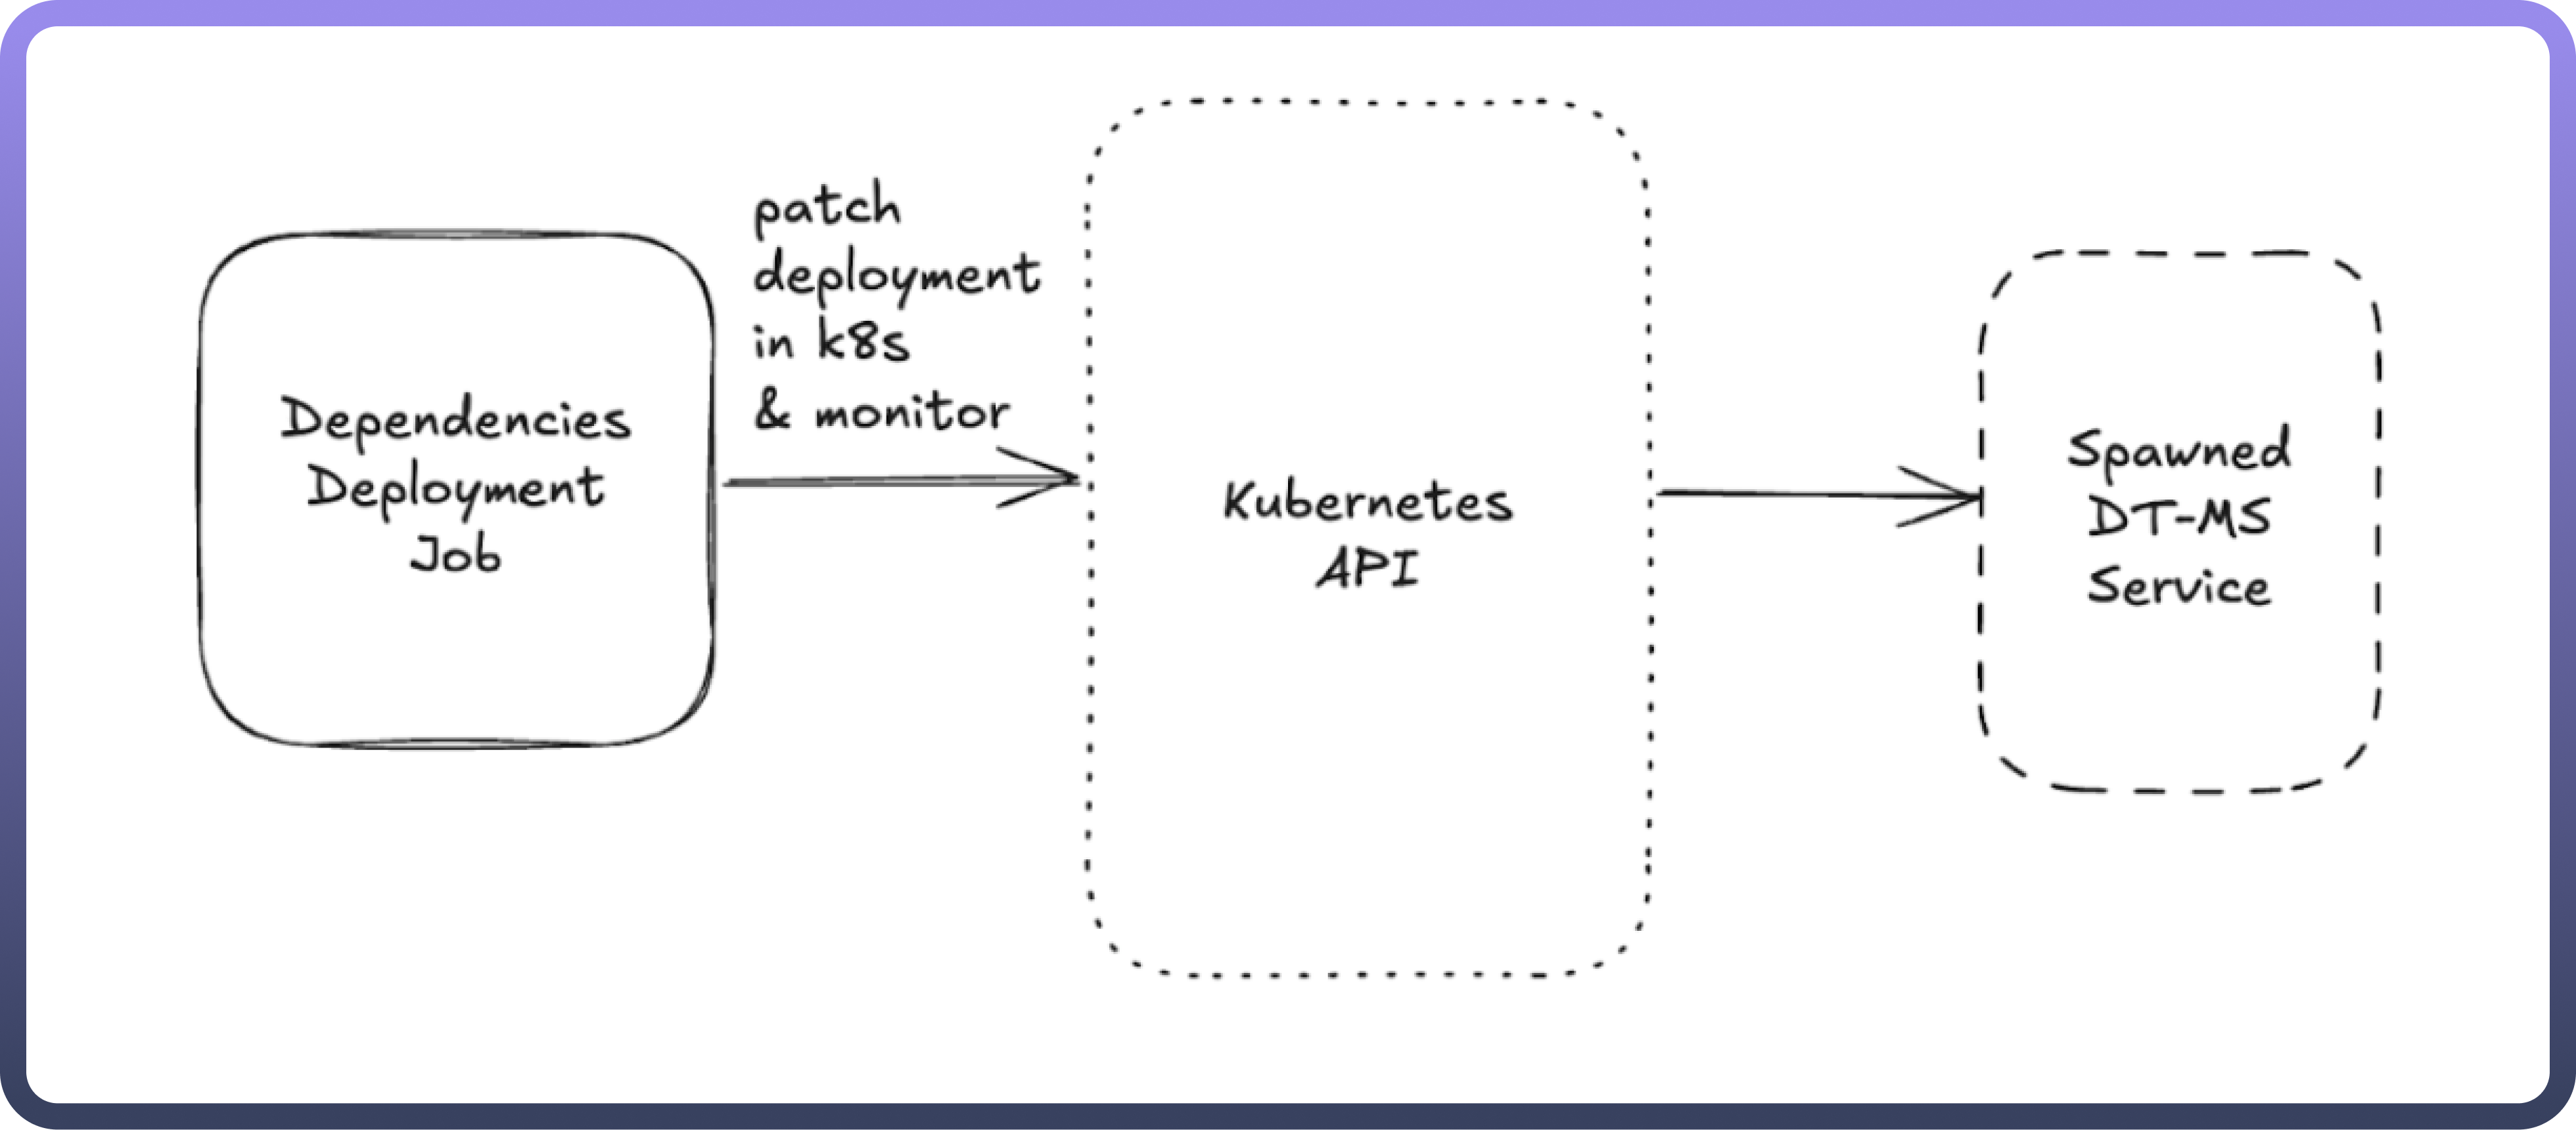
Dependencies Deployment Job
Role: A scheduled job responsible for managing the deployment of the required dependencies. This job is triggered by the Scheduler Engine to initiate deployments based on predefined configurations.
Functionality:
Executes a deployment request.
Monitors the status of deployments in the Kubernetes cluster.
Applies patches if necessary to ensure the deployment's smooth execution.
Output: Sends requests to the Kubernetes API to handle deployment operations.
Kubernetes API
Role: The core API interface to manage and monitor deployments in the Kubernetes cluster.
Functionality:
Accepts deployment requests from the Dependencies Deployment Job.
Handles various Kubernetes operations, including creating, updating, and monitoring deployments.
Provides status feedback and logs for monitoring purposes.
Output: Spawns services, handles scaling, and monitors the health and status of services.
The Kubernetes Role and RoleBinding defined in the configuration are necessary because the operations involve:
Spawning deployments, pods, and services.
Creating and managing ConfigMaps.
Monitoring services for logs.
Providing users the ability to download logs from a user interface.
This requires broad permissions across multiple Kubernetes API groups to interact with various resources. The configuration provided allows the default service account (in the UnifyApps namespace) to perform the required operations.
Role
apiVersion: rbac.authorization.k8s.io/v1
kind: Role
metadata:
name: dt-ms-manage-resources-role
namespace: "unifyapps"
rules:
# Core API group
- apiGroups: [""]
# Read-Only access for observability of pod
resources: ["pods/log"]
verbs: ["get"]
# Events API group
- apiGroups: ["events.k8s.io"]
# Read-Only access for observability of pod
resources: ["events"]
verbs: ["list", "get"]
# Core API group
- apiGroups: [""]
# For deploying/uninstalling dt-ms microservices.
# services - For communicating with the pod
# configmaps - For configuring application yaml properties
resources: ["services", "configmaps"]
verbs: ["patch", "update", "create", "delete", "get"]
- apiGroups: [""]
# For deploying/uninstalling dt-ms microservices.
# pods - Listing pods to check pod status and read logs
resources: ["pods"]
verbs: ["list", "get"]
# Apps API group
- apiGroups: ["apps"]
# For deploying/uninstalling dt-ms microservices
resources: ["deployments"]
verbs: ["patch", "update", "create", "delete", "get"] # Networking API group
- apiGroups: [ "networking.k8s.io" ]
resources: [ "ingresses" ]
verbs: [ "patch", "update", "create", "delete", "get" ]
Core API Group - "Pods/Logs”
Get
To read logs of Pod.
Usage - Observability of Pod
Used for debugging when deployment of pod fails.
Fetch pod logs on demand by the user.
Events API Group ("events.k8s.io") - “events”
List
To list pod’s events
Get
To get event information - list itself isn’t sufficient to access event information
Usage - Observability of Pod
Used for debugging when deployment of pod fails
Fetch pod events on demand by user.
Core API Group - “pods”
List, Get
To list and describe pods and its container information.
Usage
To verify deployment status of pods
Core API Group - “services”
patch, update, get, create, delete
To deploy / uninstall service resources
Service resource is used for `dt-ms` pod communication
Core API Group - “configmaps”
patch, update, get, create, delete
To deploy / uninstall configmap resources
This configmap is mounted to dt-ms pod.
Used for storing application yaml properties used in dt-ms application.
Apps API Group (apps) - “deployments”
patch, update, get, create, delete
To deploy / uninstall dt-ms deployment resources
Apps API Group (ingresses) - “ingresses”
patch, update, get, create, delete
To deploy / uninstall dt-ms deployment resources
Need ingress to reach dt-ms deployment service
RoleBinding
apiVersion: rbac.authorization.k8s.io/v1
kind: RoleBinding
metadata:
name: dt-ms-manage-resources-role-binding
namespace: unifyapps
subjects:
- kind: ServiceAccount
name: default
namespace: unifyapps
roleRef:
kind: Role
name: dt-ms-manage-resources-role
apiGroup: rbac.authorization.k8s.io
Spawned DT-MS Service
The DT-MS represents a flexible and configurable microservice based on a vanilla Spring Boot application. This setup is designed to provide dynamic execution capabilities and customization for individual teams by allowing them to mount and run Java JARs dynamically. These JARs can include Spring-managed components, enabling full integration with the Spring lifecycle, AOP (Aspect-Oriented Programming), and HTTP filtering capabilities. Users can also attach custom Spring configurations and HTTP filters specific to their needs.
Key Capabilities
Dynamic Java JAR Execution
The DT-MS is structured to execute Java Code defined by DT Developer Team with dependencies from JAR files dynamically at runtime.
These JARs can contain:
Standard Java logic.
Spring beans, which are lifecycle-managed by the Spring Boot context.
AOP components, allowing for cross-cutting concerns like logging, security, or transactions to be integrated seamlessly.
Spring Lifecycle Management
The application ensures that dynamically loaded JAR components are managed within the Spring lifecycle.
Loaded beans are initialized, autowired, and destroyed according to the Spring container’s lifecycle rules.
Users can introduce new beans dynamically, and these will participate in the existing dependency injection mechanism.
Aspect-Oriented Programming (AOP) Support
AOP allows the introduction of additional behavior to existing code without modifying the code itself.
With AOP support, users can dynamically introduce aspects, such as logging, security, or transaction management, by deploying JARs that include aspect configurations.
Custom HTTP Request Filters
Users can define and attach Spring-specific HTTP request filters.
These filters can be provided via custom configurations in the dynamically mounted JARs, allowing for fine-grained control over HTTP requests and responses.
Filters can include:
Authentication and authorization logic.
Custom request handling, including validation and preprocessing.
User-Provided Spring Configuration
Users can attach their own Spring configurations in YAML format to the DT-MS.
Dependency Execution Flow
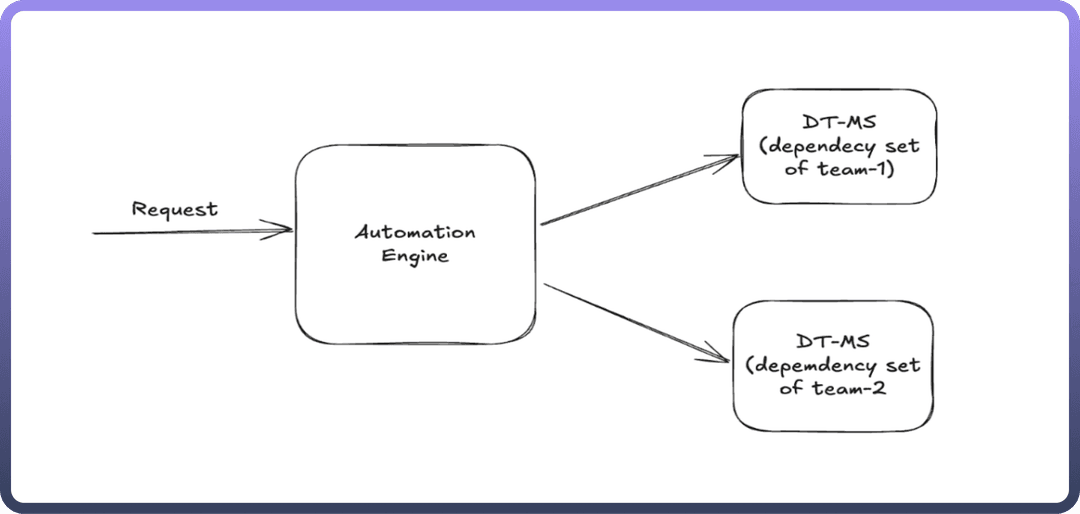
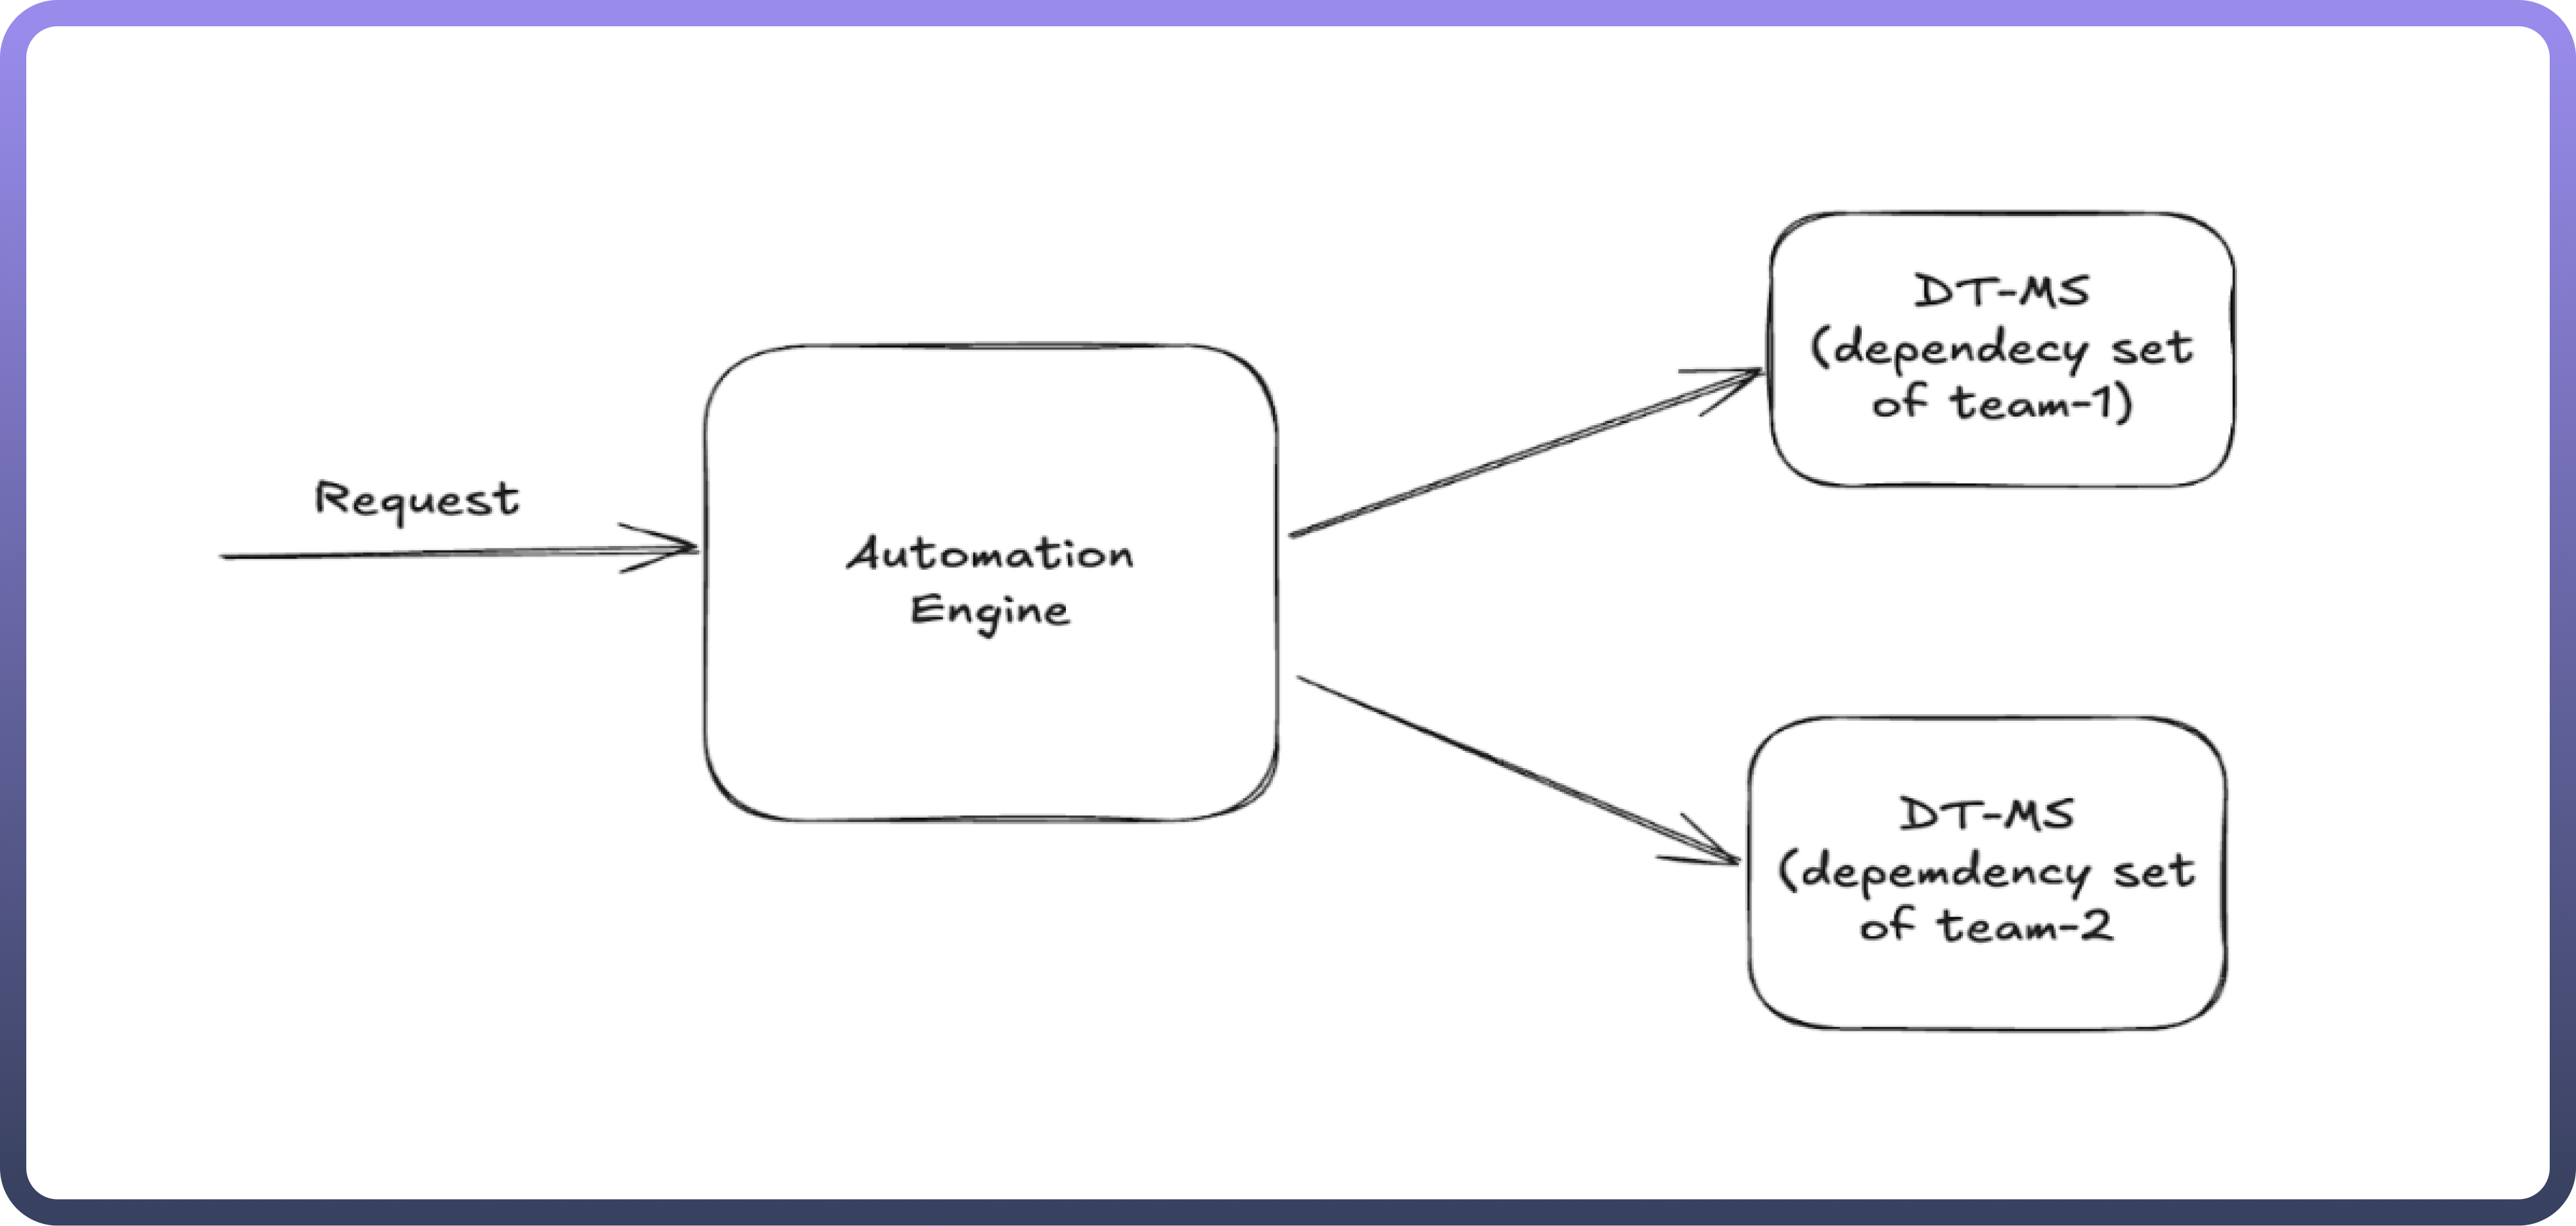
Automation Engine
Role: Acts as the orchestrator, handling incoming execution requests and routing them to the appropriate microservices.
Functionality:
Receives user or system-triggered requests.
Determines which team-specific dependency set to use.
Routes execution commands to the correct microservice.
Output: Processes the execution and returns results or statuses based on the microservice responses.
DT-MS
Role: Each
DT-MSrepresents a microservice configured with a specific dependency set tailored to individual teams' requirements.Functionality:
Executes the required operations based on the instructions received from the Automation Engine.
Uses predefined configurations and dependencies to handle specific domain-related tasks.
Communicates status, results, and logs back to the Automation Engine.
Output: Provides execution results and logs to the Automation Engine.
